In this article we will install and configure a Ceph Cluster environment with 3 hyperconverged nodes and then interface it, through CephFS with a Ceph Client.
How to create hyperconverged cluster with Ceph
Suppose we have 3 machines available on which to install (node1, node2, node3)
1. Installing CEPHADM for cluster management
Run these commands to Install cephadm on node1.
Install cephadmin as a “tool” on the system. This operation takes about 30minutes to complete.
Once the installation is complete, we execute the ceph admin boostrap, using the IP of the host we are operating on
Now, cephadm will download the container images to create the Ceph cluster infrastructure and to send it running in our network 192.168.131.0/24.
At the end of the procedure, we see that the URL to access the cluster is:

The followng command is also provided
![]()
The command will allow you to access the shell.
The ceph GUI is very powerful and allows many operations but having access to the shell is very important, even in case of problems.
Let’s get the ceph key
We then place it in the “authorized_keys” file of node2 and node3
This way ceph will have full control of the other two hosts
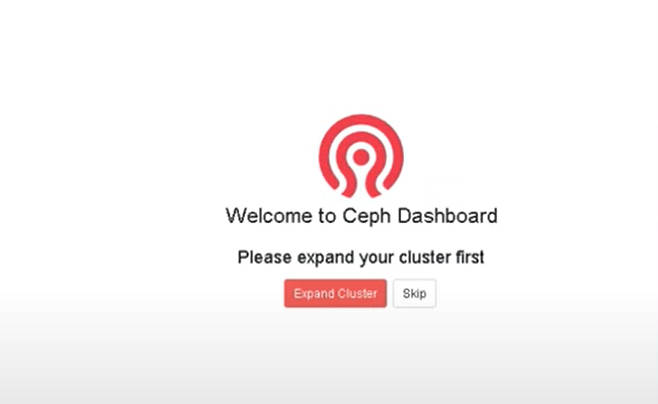
Enter the GUI with the indicated URL
Change the password as required. Then the process of creating the cluster starts. We thus land on the procedure for creating the Cluster Ceph
Before proceeding, let’s install Docker on the other nodes.
2. Docker installation
SSH into the other two nodes and run the Docker installation procedure
Once Docker is installed on both node2 and node3, continue with the installation from the GUI.
Click on “Expand Cluster” and we find this screen
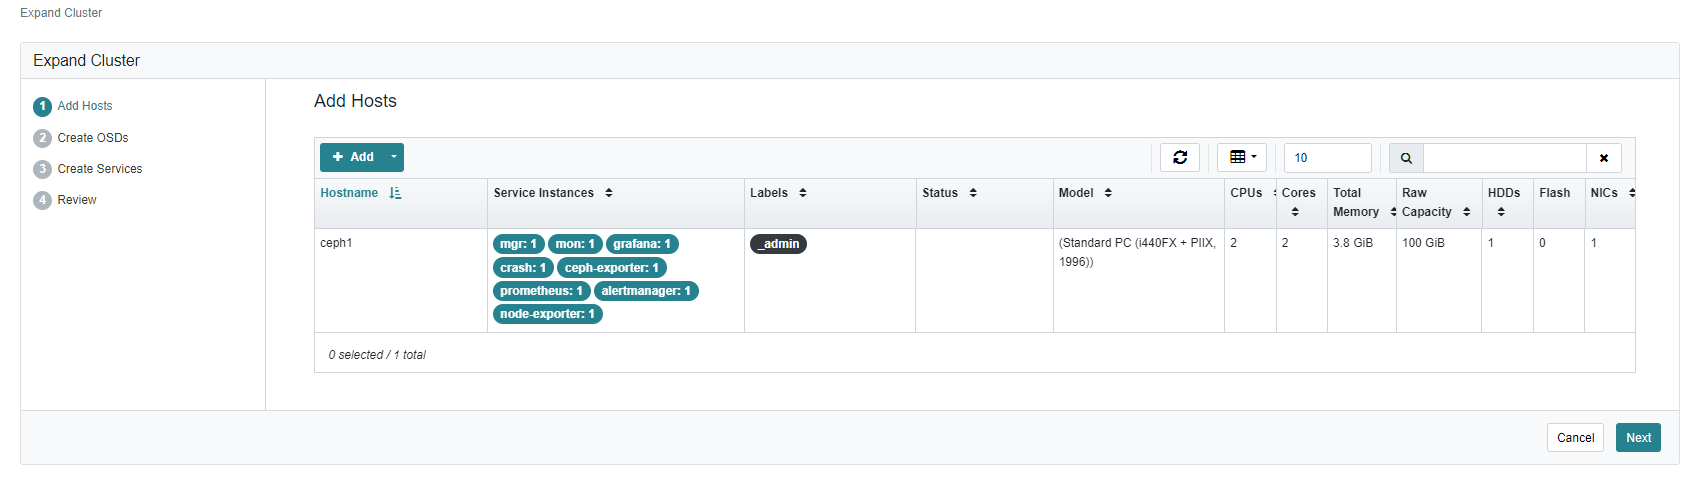
Let’s add node 2, with hostname ceph2 and IP 192.168.131.104
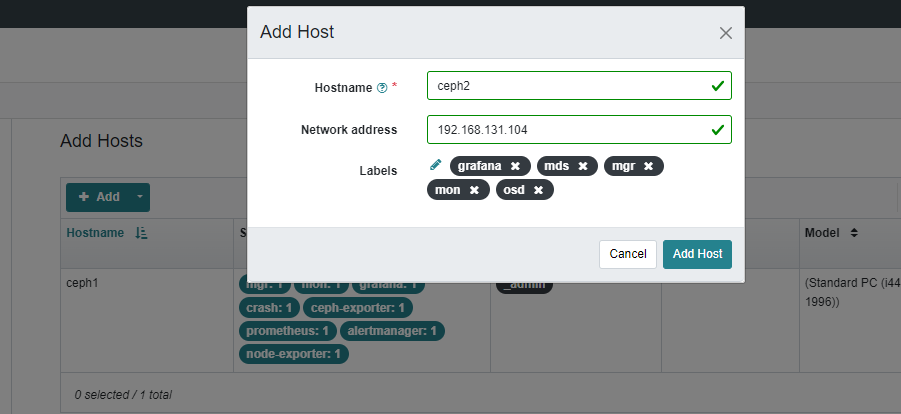
We then do the same with node 3, with hostname ceph3
We should see the following screen
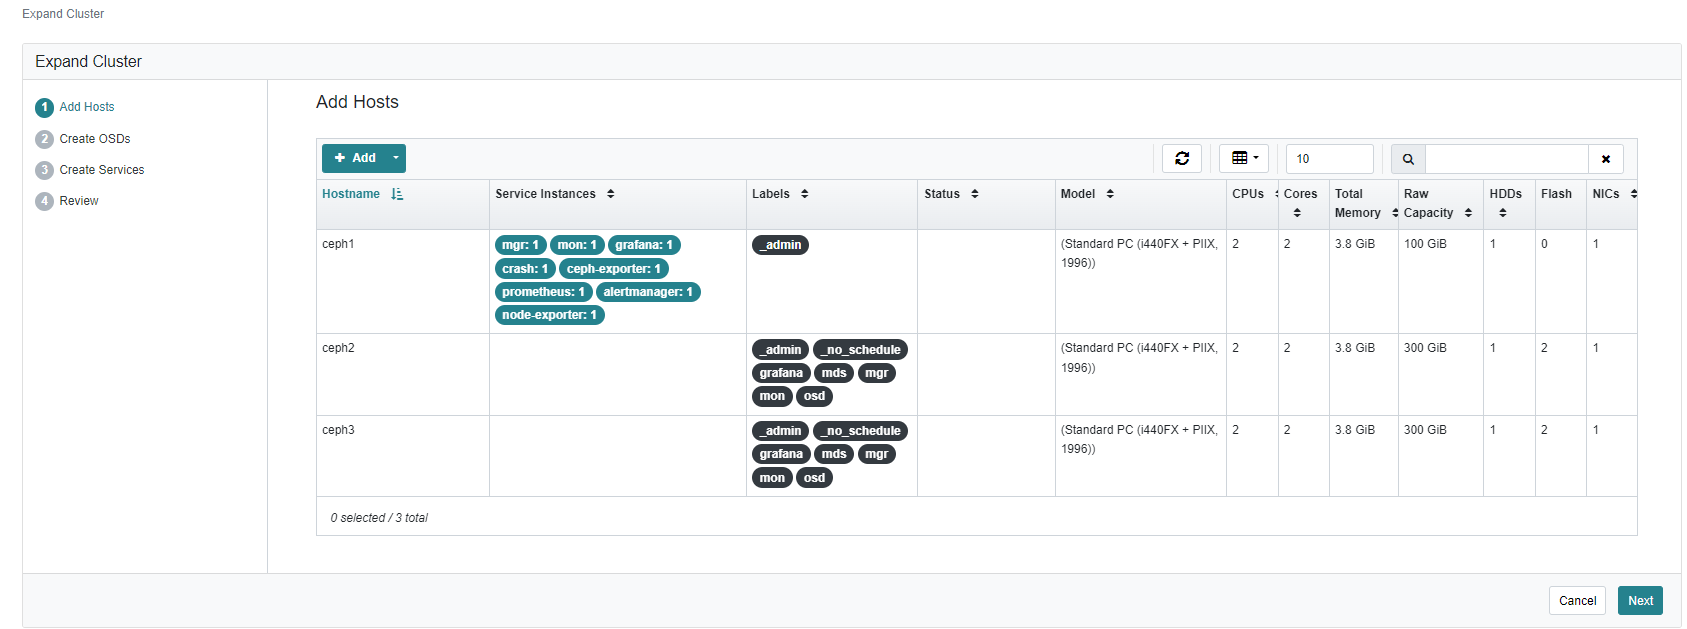
Proceed with “Create OSD” —> Advanced Mode —> +Add
Wait for all disks to appear and select the filter so that they are all displayed
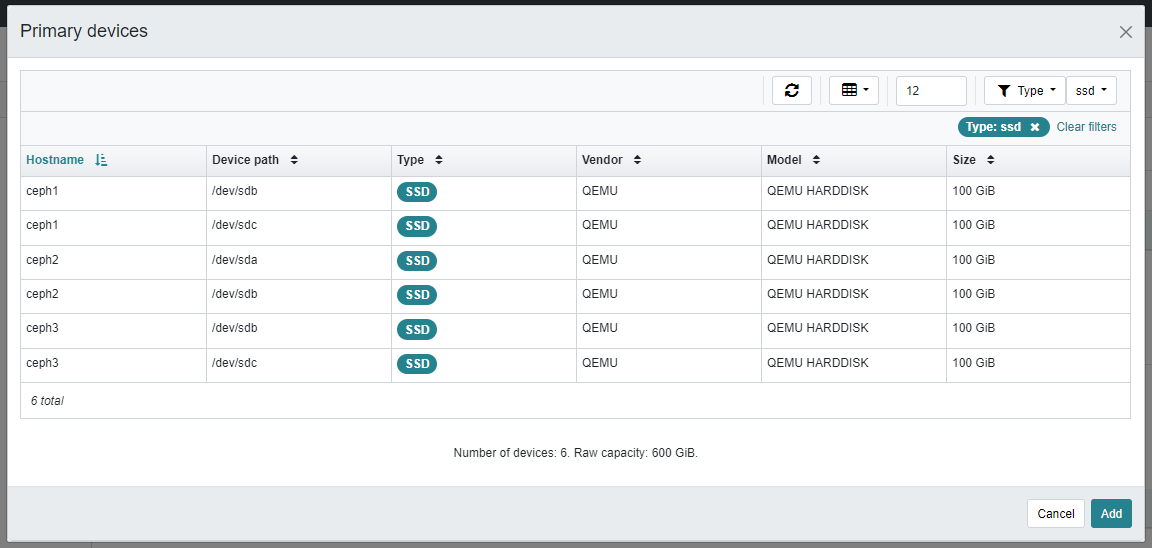
Select Add
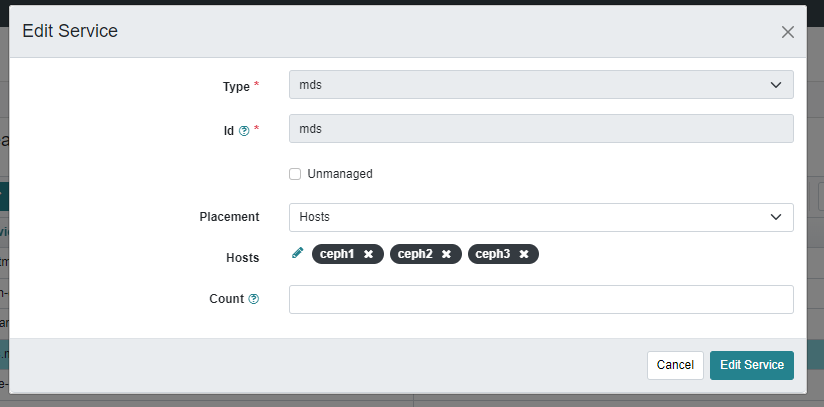
Now let's add the services, going to Create Service —> Create and add the mds service on all the nodes
Now go to “Expand Cluster”
will take care of creating all the services on all the nodes of the cluster and running .
3. CephFS creation
Ceph File System (CephFS) is a POSIX-compliant file system that relies on object-oriented distributed Ceph storage, called RADOS, to provide highly available and high-performance storage for various applications.
It supports traditional use cases such as shared directories, temporary workspace for high-performance computing, and shared storage for distributed workflows.
CephFS adopts a unique architecture where file metadata is stored separately from file data in RADOS. Metadata is served through a cluster of Metadata Servers (MDS) that can be scaled to handle high-speed metadata workloads.
Clients directly access RADOS to read and write blocks of file data, allowing for linear scalability based on the size of the underlying RADOS object storage.
Data access is coordinated by the MDS cluster, which acts as the authority for the distributed metadata cache maintained collaboratively between the clients and the MDSs themselves.
Metadata mutations are efficiently written to a journal in RADOS by each MDS, without storing any metadata state locally.
This model allows for consistent and fast collaboration between clients within a POSIX file system.
CephFS is a scalable, distributed file system that provides real-time, simultaneous access to large amounts of data from multiple compute nodes.
It is suitable for a variety of use cases that require distributed storage, parallel processing, and data reliability.
We enter the Cephadm shell with:
Let's first create two pools:
The first pool will be the one for metadata
The second pool will be the one for the actual data.
We then execute the two commands for creating the pools:
Once the two pools have been created, let's create CephFS
Here are some useful commands for manipulating CephFS
This will NOT delete data within the pool, just CephFS
4. Ceph Client Mounting
Now that we have created CephFS, we want to make it usable on a Client machine (in this case a Debian)
Let's move onto the machine with cephadm (node 1) and enter the shell
Let's create the admin user key, which is then used to mount from the ceph-client
Copy the output and use it in the client you want to mount the CephFS on
4. Ceph Client
Let's install Ceph Common first
Once on the machine that will act as a ceph client, copy the key to the correct path
Create a folder on the client, on which we will mount the CephFS
In our case:
Mount permanently, adding this line in the /etc/fstab file
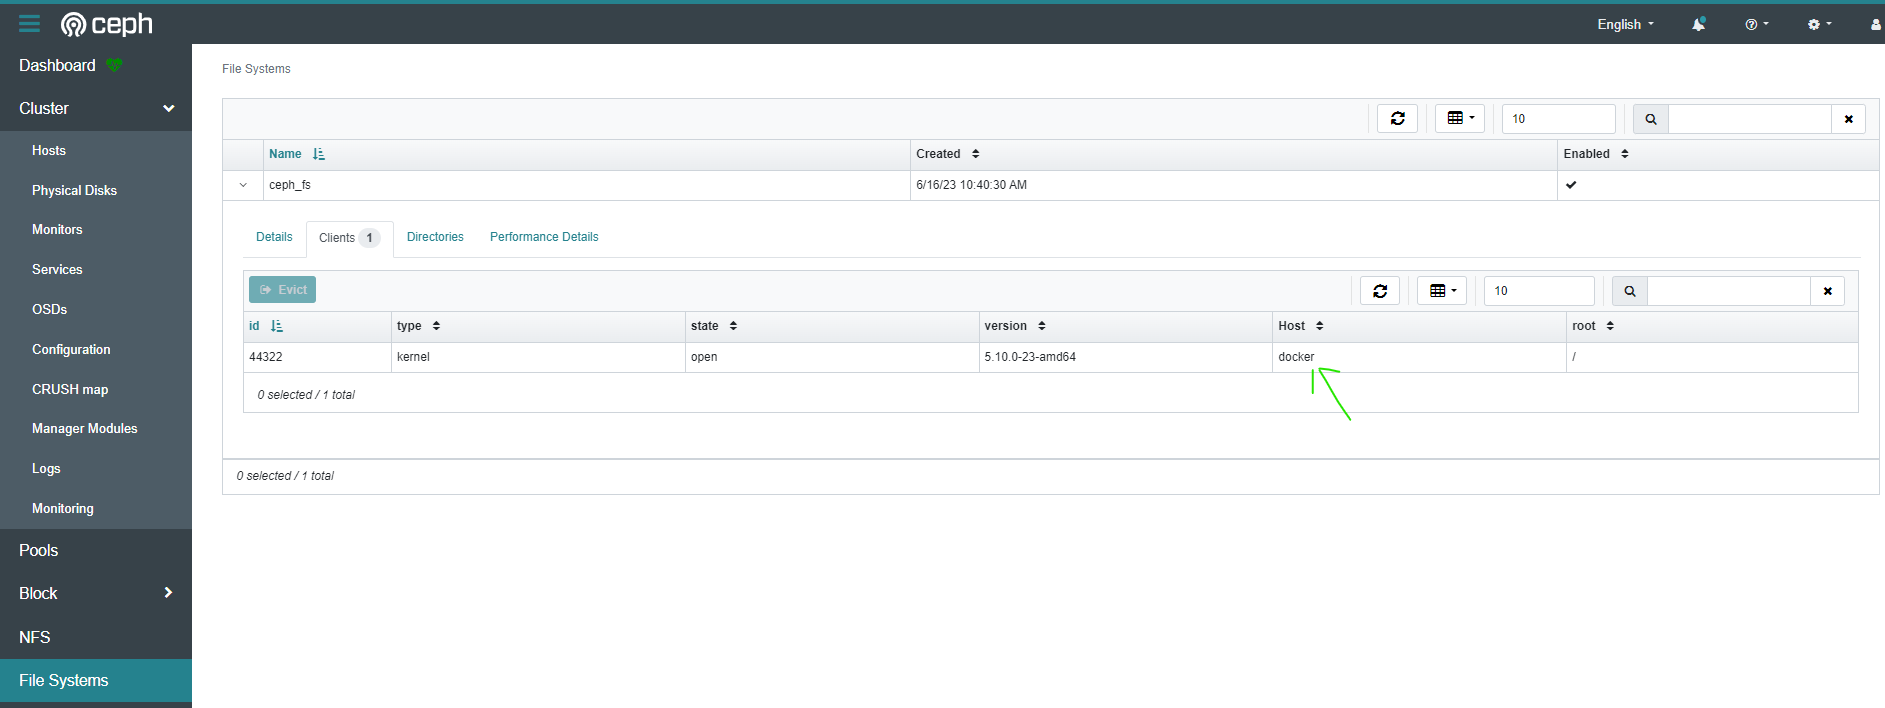
Once the CephFS resource is mounted, let's check on the Ceph dashboard.
Under File Systems —> ceph_fs —> Clients
We see that the client we just associated is present
From now on we can use our CephFS as we prefer (for example as a File Server).
6. Monitor Restart
We may need to restart the monitor, for example when we have latencies that present themselves with this error

This error means that the Monitors are not synchronized.
A useful command to restart the monitors all at once is the following:
On the machine with cephadm (node 1) and enter the shell
Then run: