Software enviroment:
This guide applies to systems 3CX V. 16 and later.
3. How to install 3CX on APU2 appliance entry level
Tested hardware
- Firewall Entry Level 3 NIC APU2 based 4GB RAM
- APU 2 NIC + WIFI
- All APU2 hardware line
Prerequirements
1. Create a USB drive to install 3CX
2. A working ethernet cable connected to the APU2 device on the NiC close to the COM with interner access.
Installation
Insert the USB drive on the APU2, connect the COM port turn on APU2.
Press F10
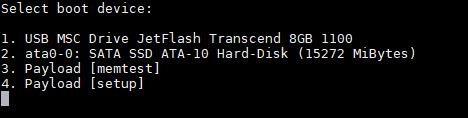
Press 1
On this window select “Install”
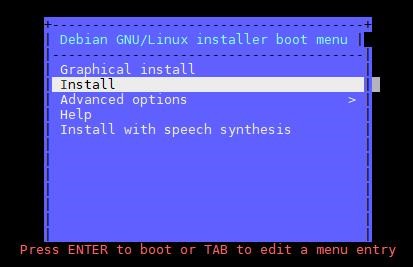
Press Enter to begin installing.

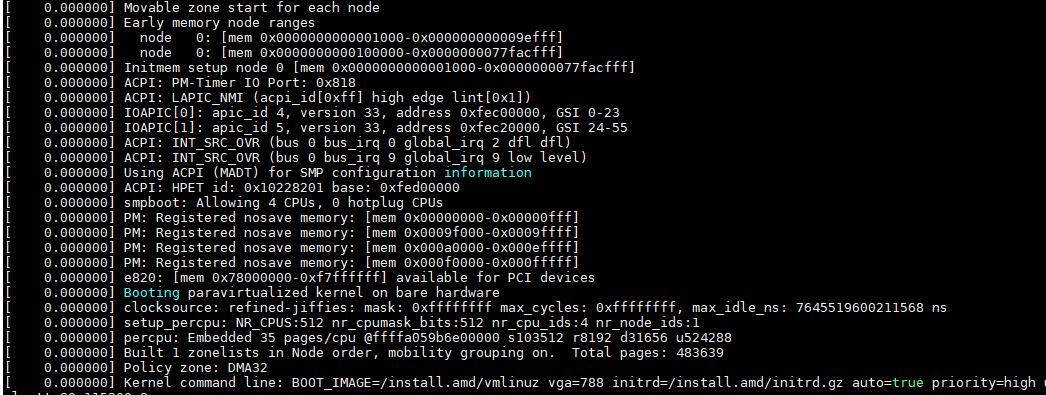
After a few minutes, you’ll see the boot information scrolling, then you’ll reach the actual installation. From here you must choose all options to install Debian 9.
If you choose enp1S0 remember tha the physical NiC refers to the one close to the COM port.
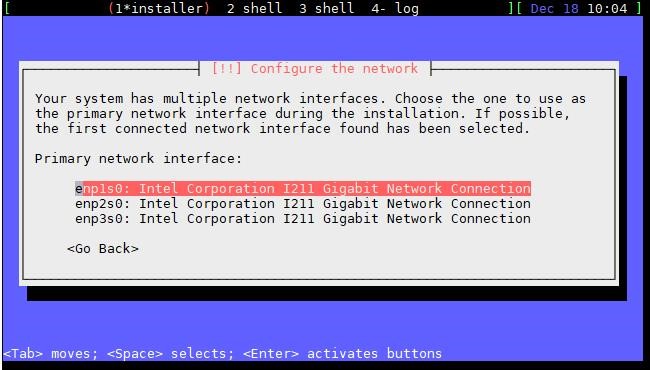
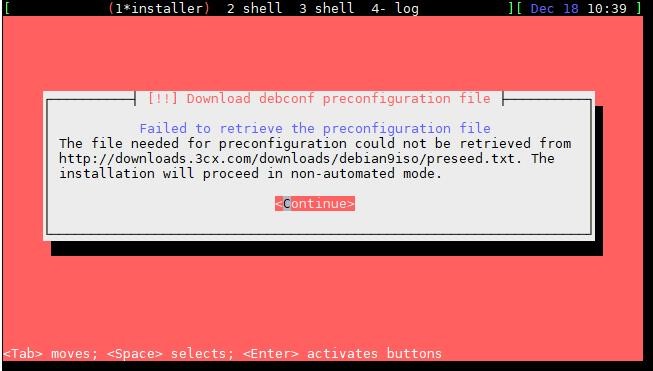
The configuration interface will start automatically on the DHCP. If DHCP is not present, or you prefer to manualy enter an IP, press “Cancel” on the following screen.

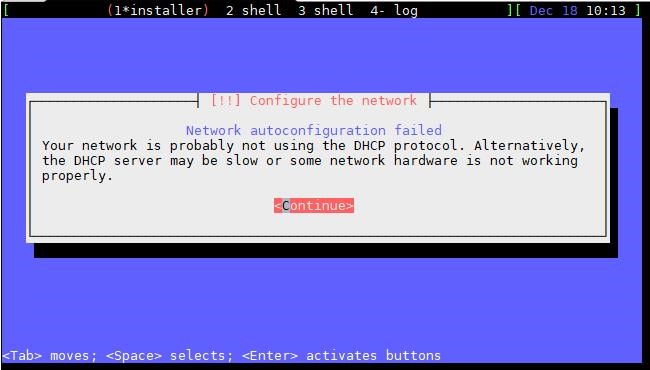
Here the DHCP server is not present, therefore the network configuration fails.
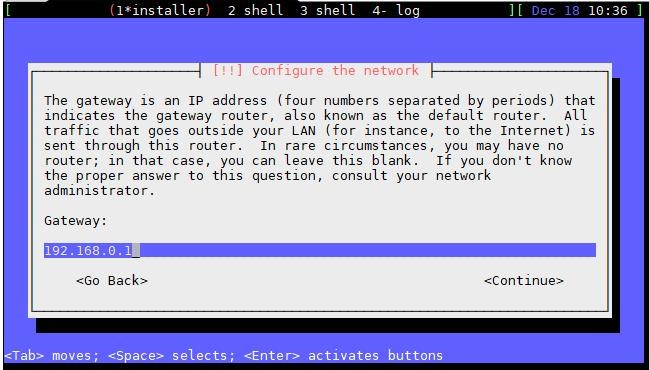
Click “Continue” and insert the IP manually. Remember, if DHCP is present, you don’t have to follow these steps.
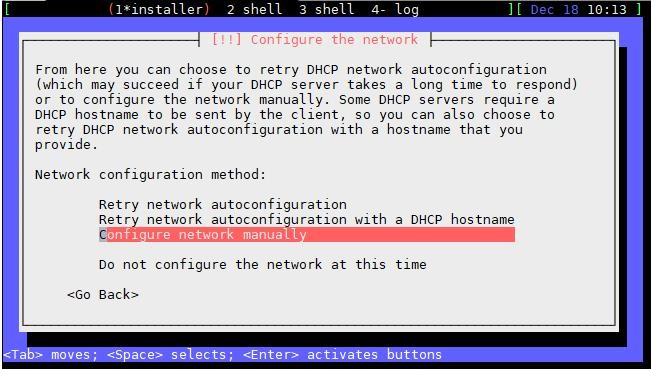
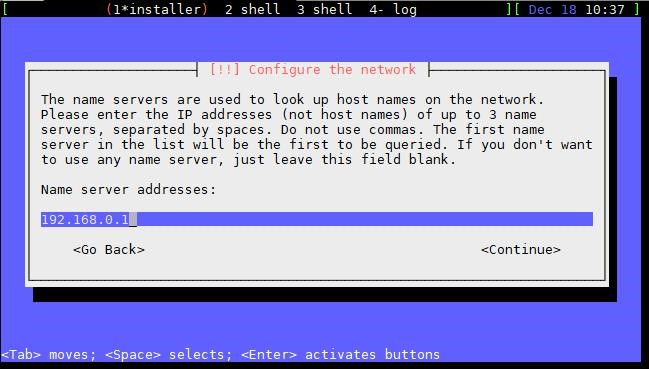
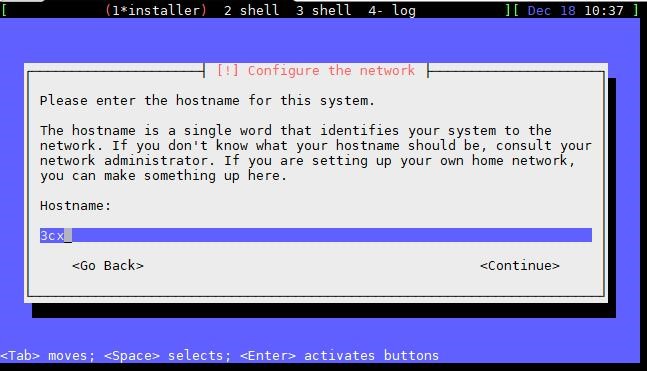
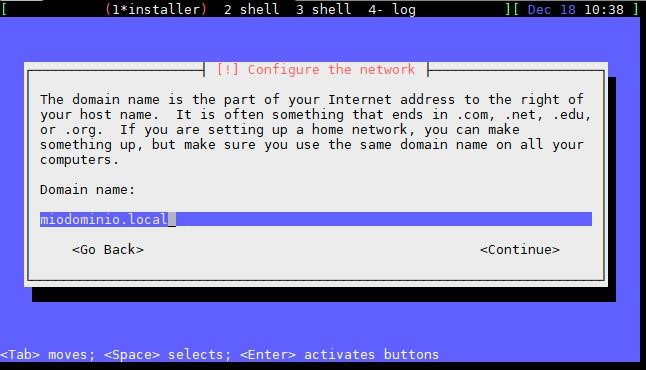
Insert the IP including Netmask, Gateway and DNS server and click Continue.
I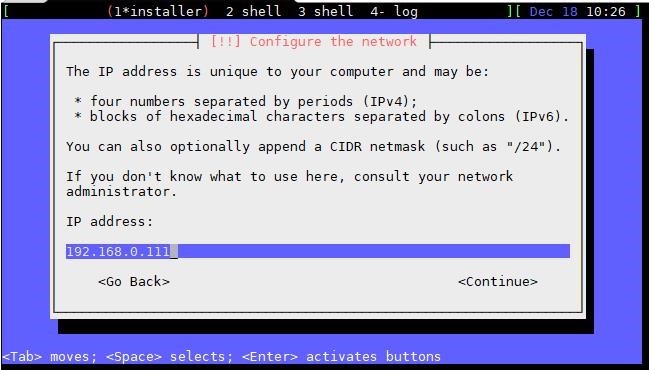

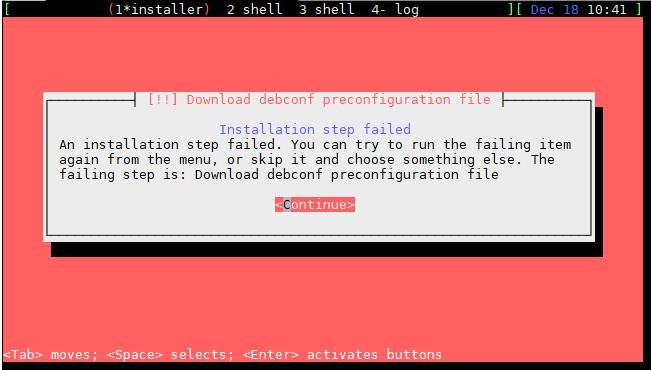
If the network is configured correctly, and 3CX is connected to internet, you’ll be able to continue or you will see the followign error message:
Click on Continue to go to the main menu with all installation steps. Select the Network section again, enter all parameters, paying close attention to not making any mistakes to continue the installation.
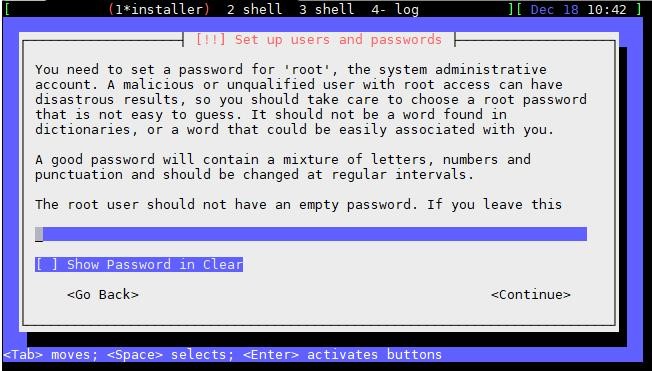
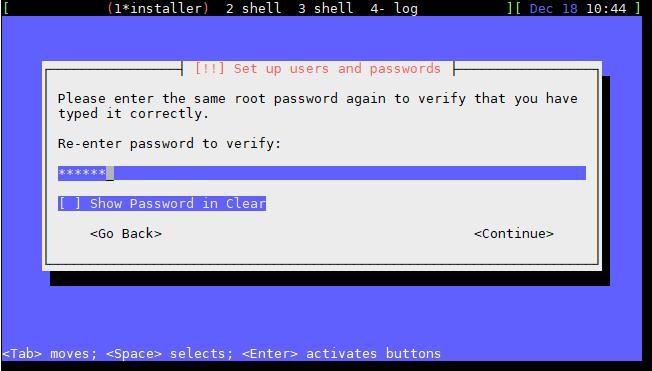
Once you to through the network phase without errors, you’ll see the root password window (to be inserted twice).
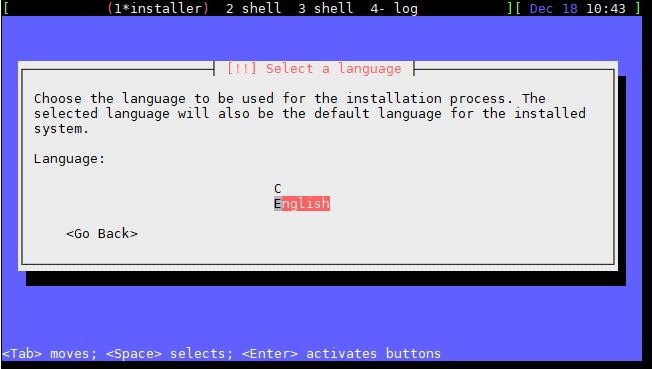
Select the language in the following window:
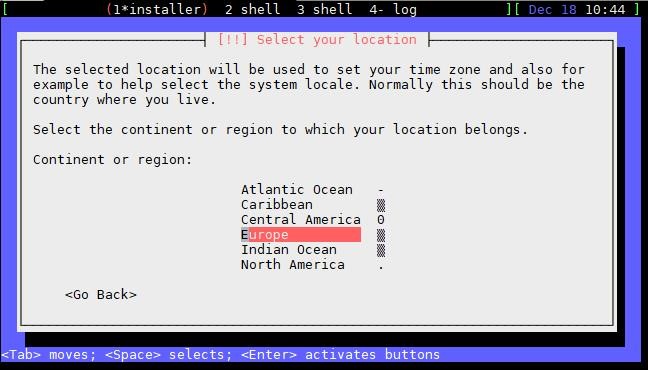
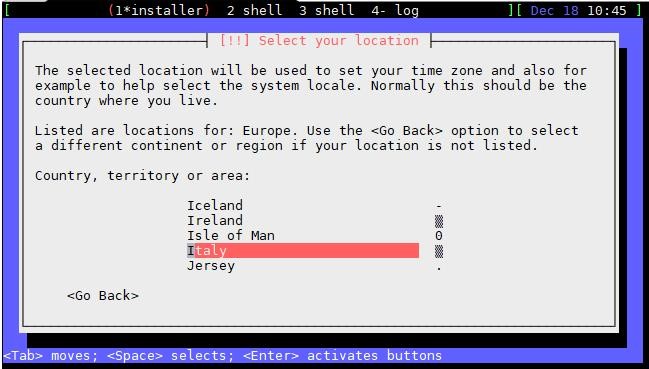
Follow the steps as shown bellow:

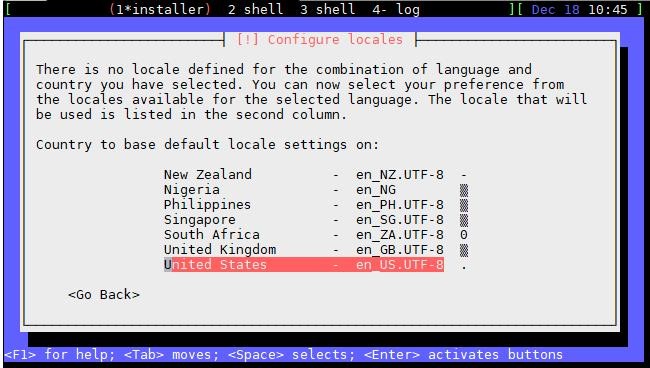
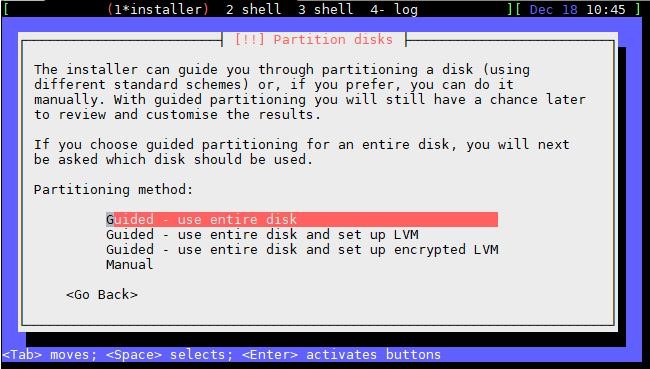
Choose according to requirements. If you’re not sure, continue as shown bellow:
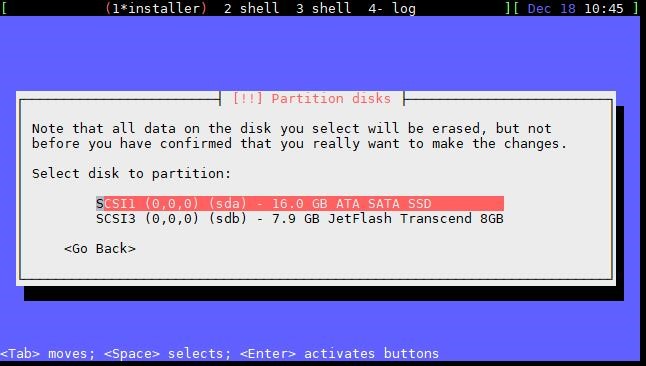
Choose a disk to install the operating system. DO NOT choose the USB drive!
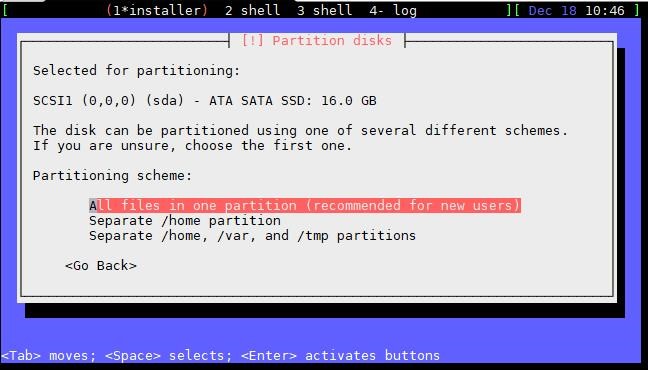
Choose according to requirements. If you’re not sure, continue as shown bellow:
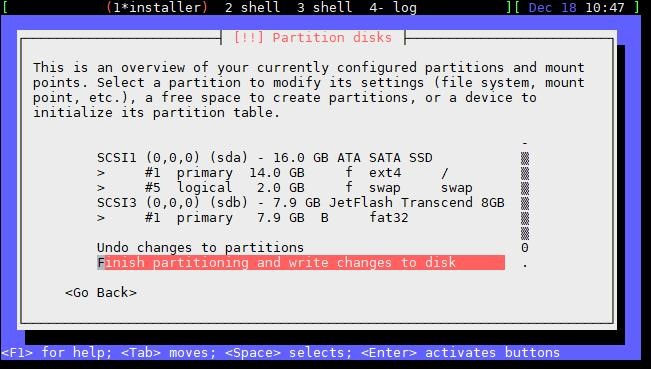
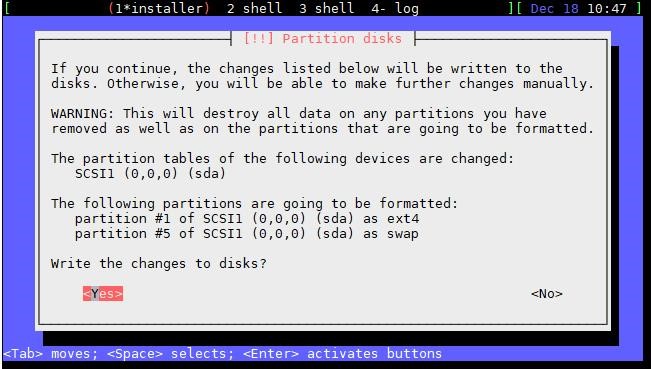
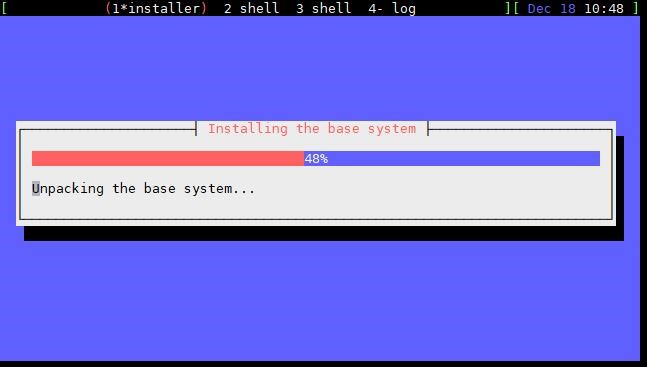
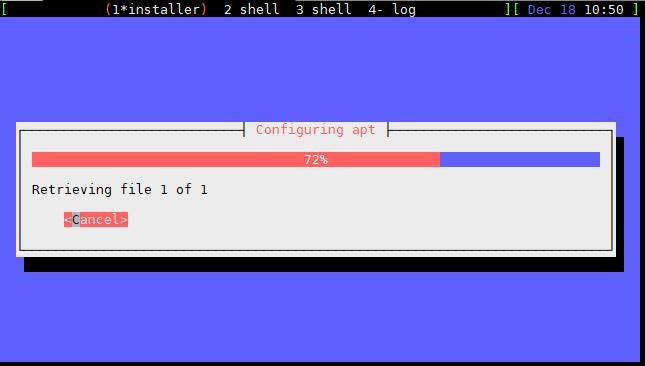
The installation of Debian 9 will start until it is completed. When it’s done, remove the USB drive or the installation will start again.
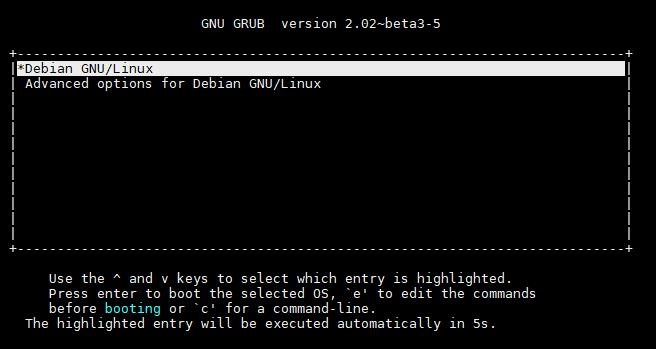
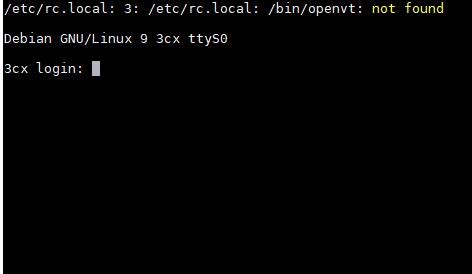
This is the GRUB window , after that you will see the login prompt console.
At the end of the installation you’ll need to run the following comands to install 3CX itself.
- Add 3CX repositories
wget -O – “http://downloads-global.3cx.com/downloads/3cxpbx/public.key” | apt-key add –
echo “deb http://downloads-global.3cx.com/downloads/debian stretch main” | tee etc/apt/sources.list.d/3cxpbx.list
echo “deb http://downloads-global.3cx.com/downloads/debian stretch-testing main” | tee /etc/apt/sources.list.d/3cxpbx-testing.list
apt update - Install preliminary packages (ssh is optional but it could be useful)
apt install net-tools dphys-swapfile ssh -y - Installa 3X package
apt install 3cxpbx -y
When you reach 99%, you’ll be asked how you want to run the tool
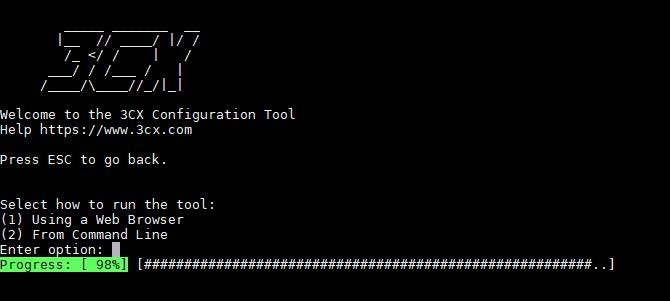
To keep it simple, enter 1 to select “Using a Web Broswer”.
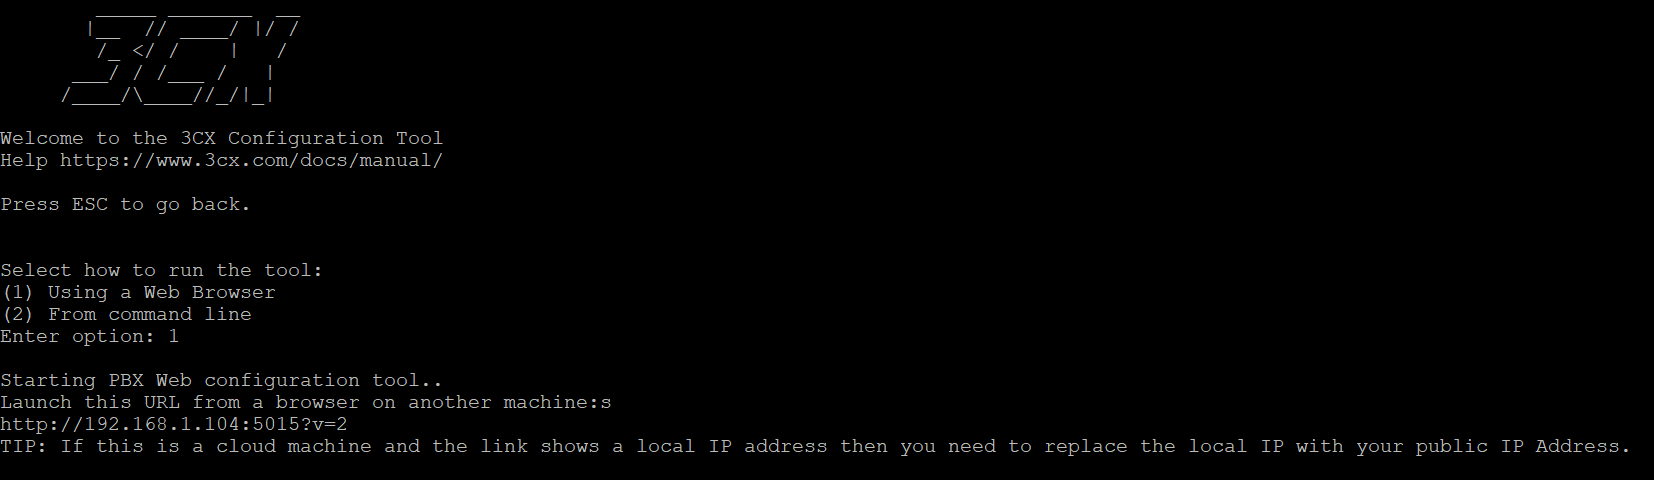
Go to the web to complete the installation.
HTTP://<YOUR APPLIANCE IP>:5015?V=2
If tou need to re-run the installation wizard after installing all the packages, you need to run one of the following comands:
/usr/bin/3CXStartWizard.sh
or
3CXWizard
or
/usr/sbin/3CXWizard
If the configuration wizard freezes, you can reset it using one of the following comands:
/usr/bin/3CXStartWizard.sh –cleanup
or
3CXWizard –cleanup
or
/usr/sbin/3CXWizard –cleanup