In this article we will explain how to defend against Ransomware, such as the Cryptolocker, using some of the properties of TrueNAS.
Software environment
We’re using TrueNAS 11.2-X on an Open NAS Tower B1.
Introduction
A ransomware is a type of malware that limits the access of the device it infects, requiring a ransom to pay to remove the limitation. For example, some forms of ransomware, such as cryptolockers block the system and instruct the user to pay to unlock the system, while others encrypt the user’s files asking to pay to bring back the encrypted files in the clear.
It is almost always impossible to access the data, sometimes even paying the ransom, and it will therefore be necessary to use a Backup system to return to being productive.
To do this we will proceed as follows:
- We configure the SMB service, and the number of shares needed; possibly access policies (strongly recommended)
- We will use the potential of TrueNAS
- in order to schedule periodic snapshots.
Configuration
Creation of the Dataset
We create our dataset to share, which for TrueNAS are nothing but folders, which will be created within the pool.
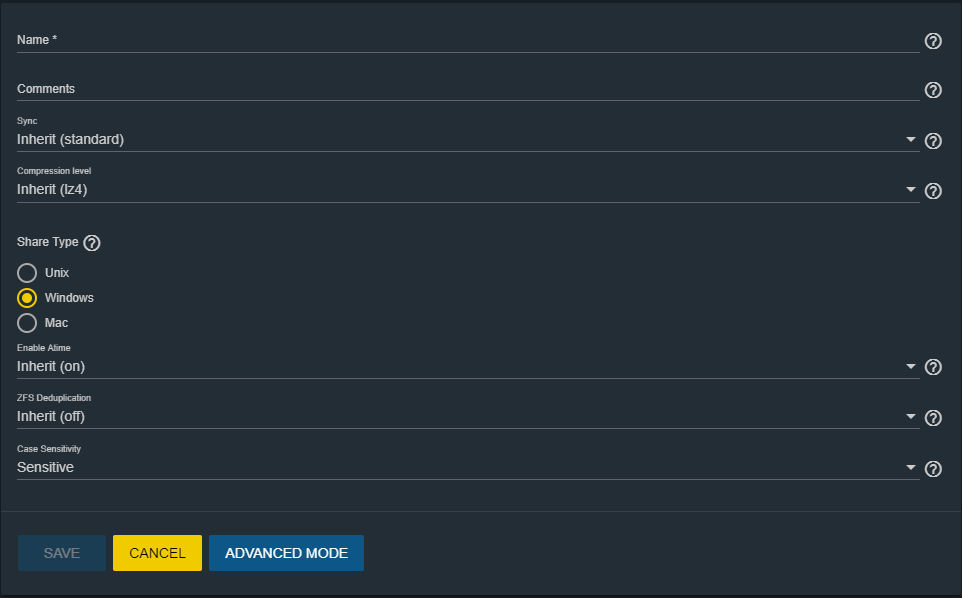
To create our dataset it is necessary to go to Storage -> Pools -> select the desired pool (in our case “MASTER”) -> Add Dataset
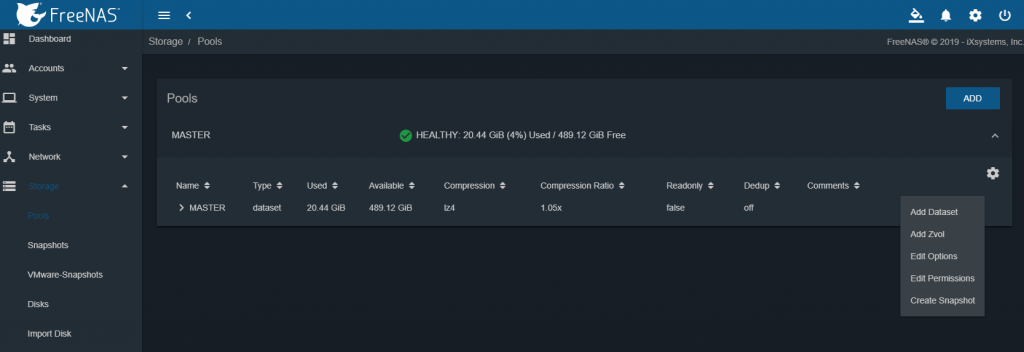
Created our dataset (named “Data”) we can now modify the permissions under “Edit Permissions”.
We choose the user owner and the group (in our case User “John” and Group “John”).
We can put a tick on “Apply permissions recursively” if we want the permissions to be applied also to the sub-folders.

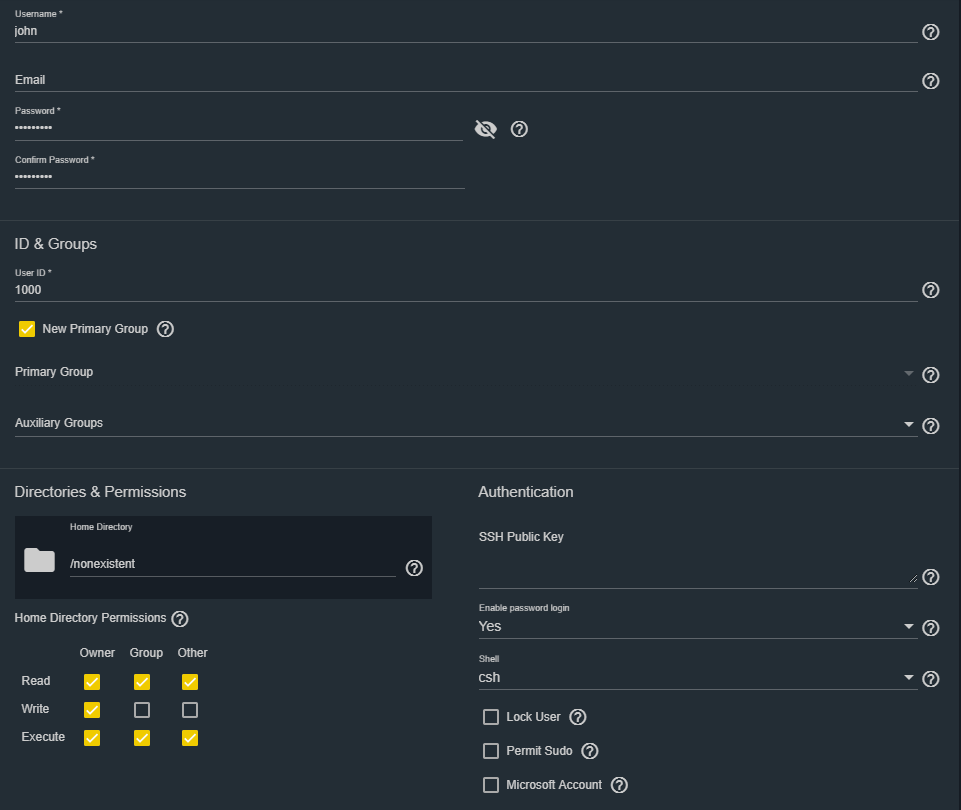
We can create local users if necessary, to assign access rights by going to Accounts -> Users -> Add.
NOTE
TrueNAS supports integration with these directory services:
- Active Directory (for Windows 2000 and later networks)
- LDAP
- NIS
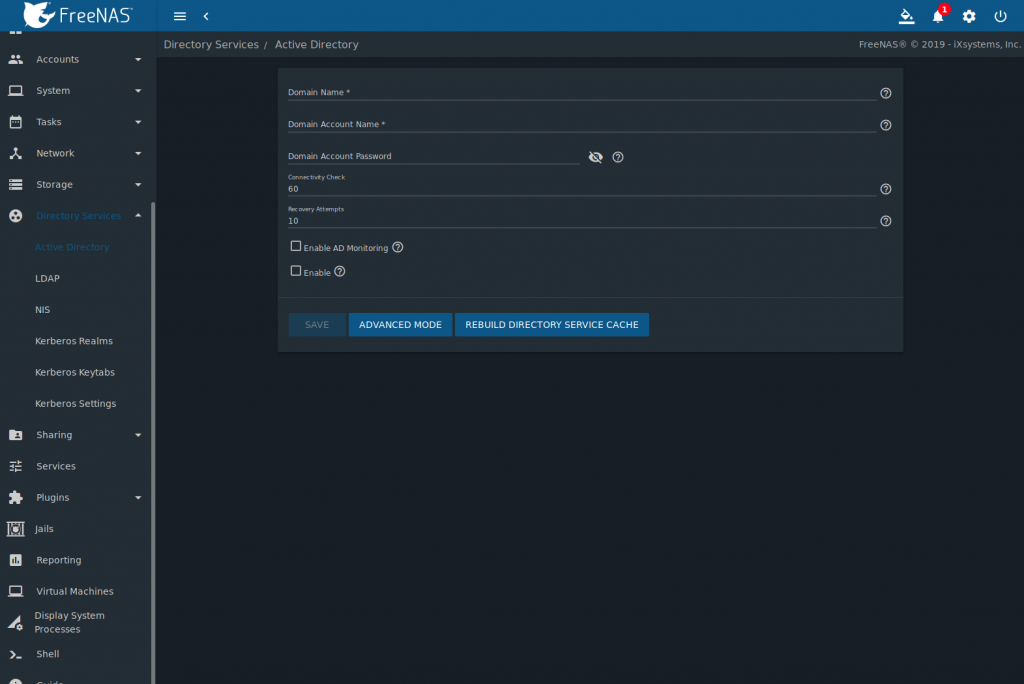
Active Directory (AD) is a service for sharing resources in a Windows network. AD can be configured on a Windows server running Windows Server 2000 (or later) or on a Unix-like operating system that runs Samba version 4. Since AD provides authentication and authorization services for users on a network, it is not necessary to recreate the same user accounts on the TrueNAS system.
You can then configure the Active Directory service so that account information, and imported users, can be authorized to access SMB shares on the TrueNAS system.
SMB service
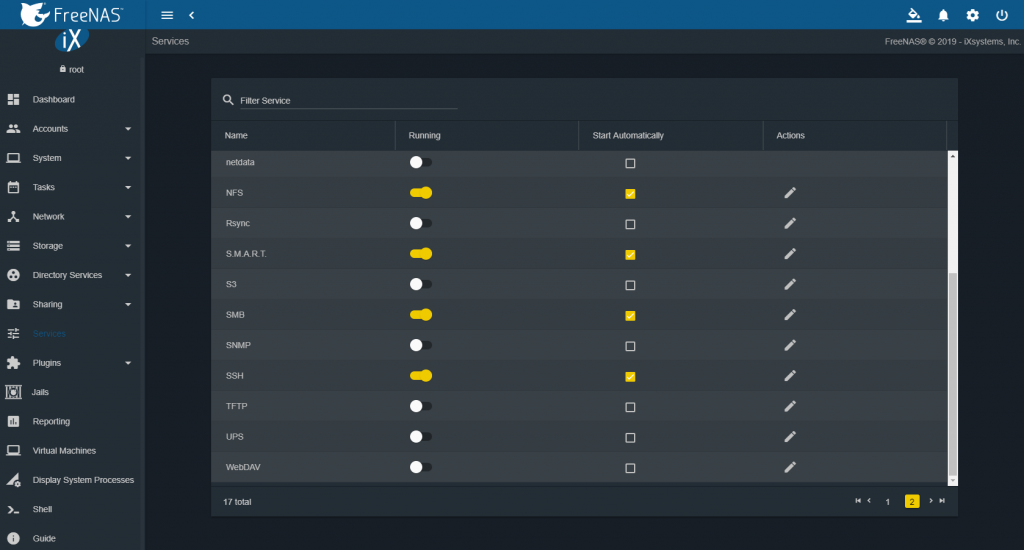
As a first step to create a share it is necessary to enable the SMB service with the following procedure: Services -> SMB by checking “running” and “Start Automatically”.
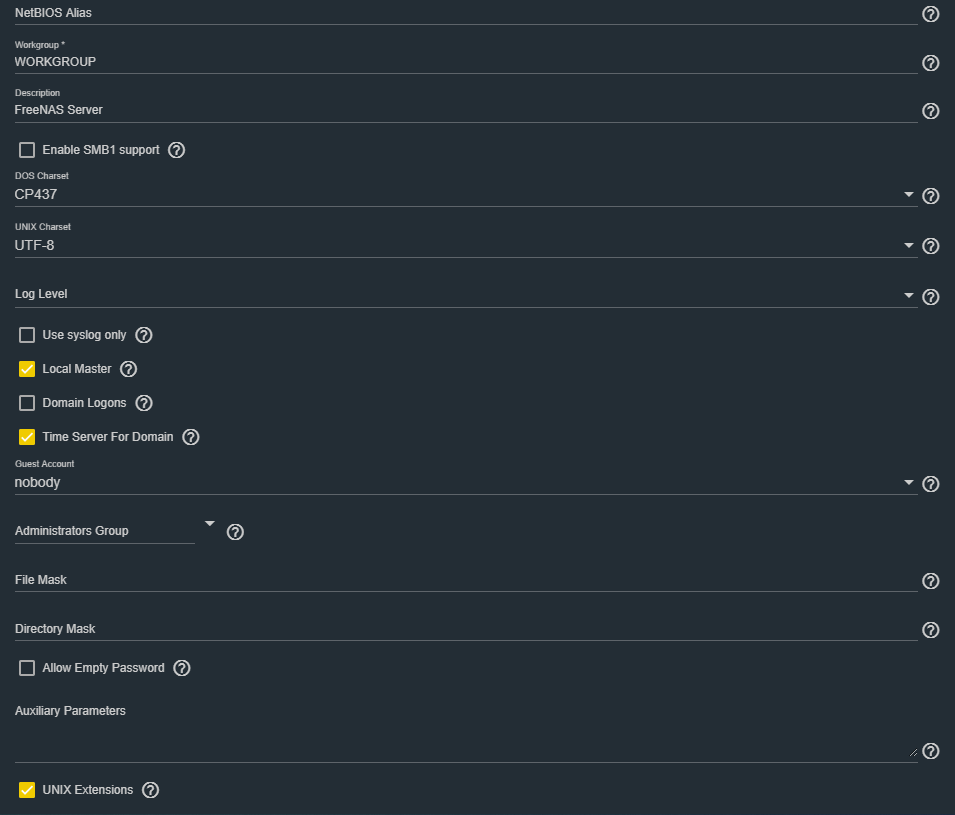
It is sufficient to leave everything as default by default. Eventually we can put a tick on “Enable SMB1 support” if we were to interface with older systems that only support the SMB V1 protocol. For security reasons we advise you not to enable it unless absolutely necessary.

Sharing creation
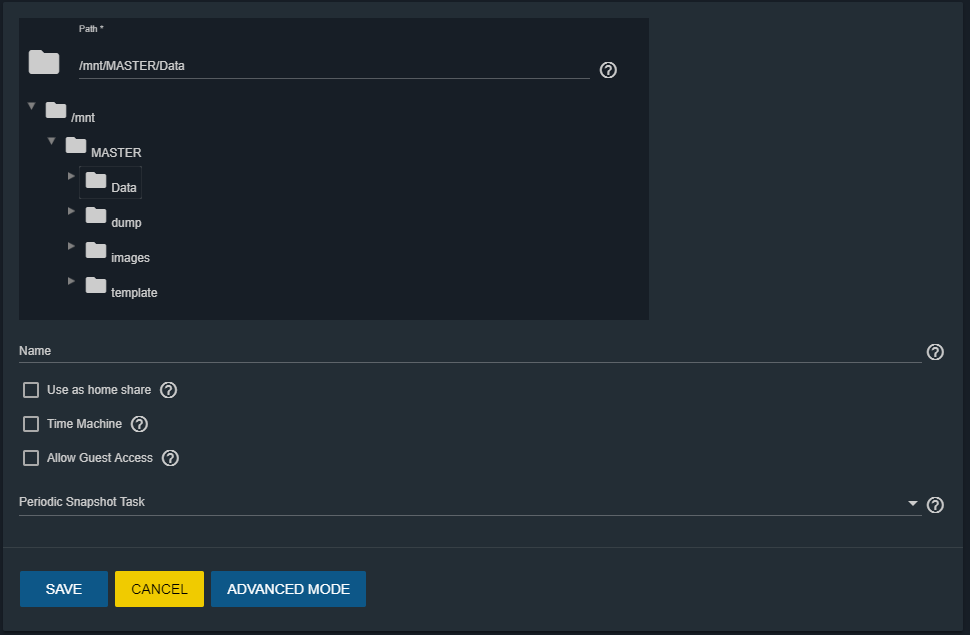
Let’s go under Sharing -> Windows (SMB) Shares -> ADD
We choose the dateset that we created earlier (in our case named “Data”).
Automatic Snapshot configuration and scheduling
Snapshots are an interesting feature of the ZFS file system. After the initial snapshot, the new snapshots do not actually copy the new / added / modified files, but take a “differential” of the original snapshot resulting in a massive reduction in the size of the subsequent new snapshots, taking less time to record new snapshots and then improve the system performance.
Snapshots can be understood as “photographs” that capture the status of the data up to a certain instant of time. This data will then be kept until all snapshots are deleted.
If all the snapshots, which protect that data are removed, you will obviously lose the history of the changes remaining therefore with the data at present.
You can return to the most recent snapshot by cloning or rolling back.
“Think of snapshots as a fast and efficient process for restoring a file / directory in a previous / original version or in a state.”
We can return to any “cloning” snapshot [term used by TrueNAS – ed]. Cloning is like “mounting” a snapshot in a new location (you need to provide the path on the file system).
After creating a test dataset, we will configure a periodic snapshot for this dataset. Then we will add / modify files and roll back / clone to the state / previous version of the data status.
It is immediately clear how useful this process can be when our data is compromised or even worse if it is encrypted by a Ransomware.
Let’s start by configuring an automatic snapshot creation task.
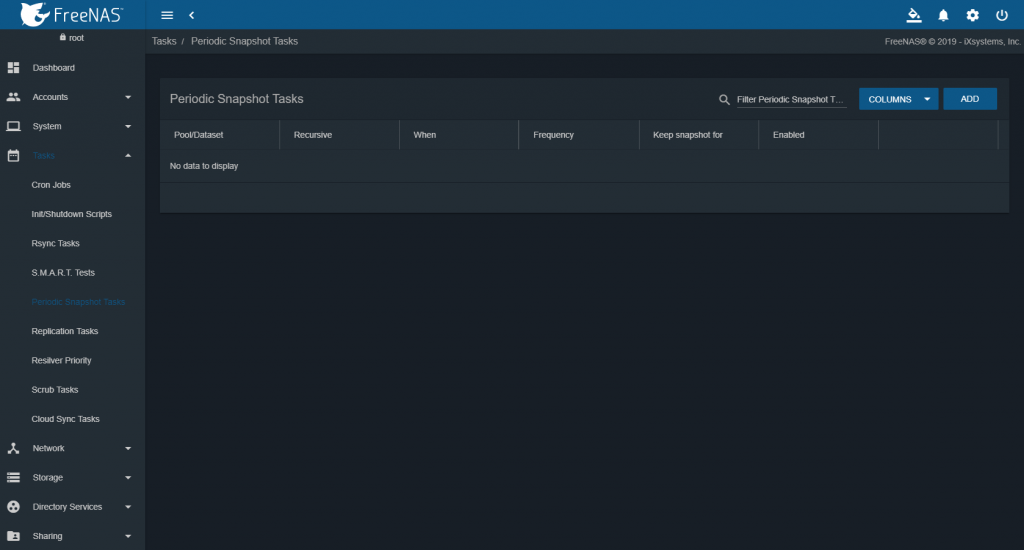
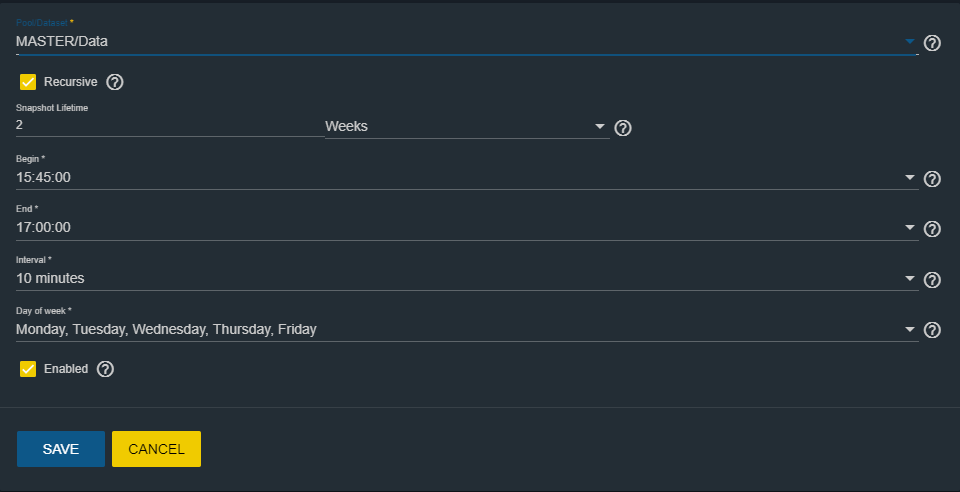
Let’s go to Task -> Periodic Snapshot Task -> ADD
We can configure:
- The whole Pool or the dataset that interests us.
- The lifetime of the snapshot (“Snapshot Lifetime”).
- The beginning and end of the time frame in which to take snapshots.
- How often to take the snapshot (“Interval”).
- The days of the week in which to perform the task.

In order to manage the snapshots we have created, we need to go to Storage -> Snapshot.
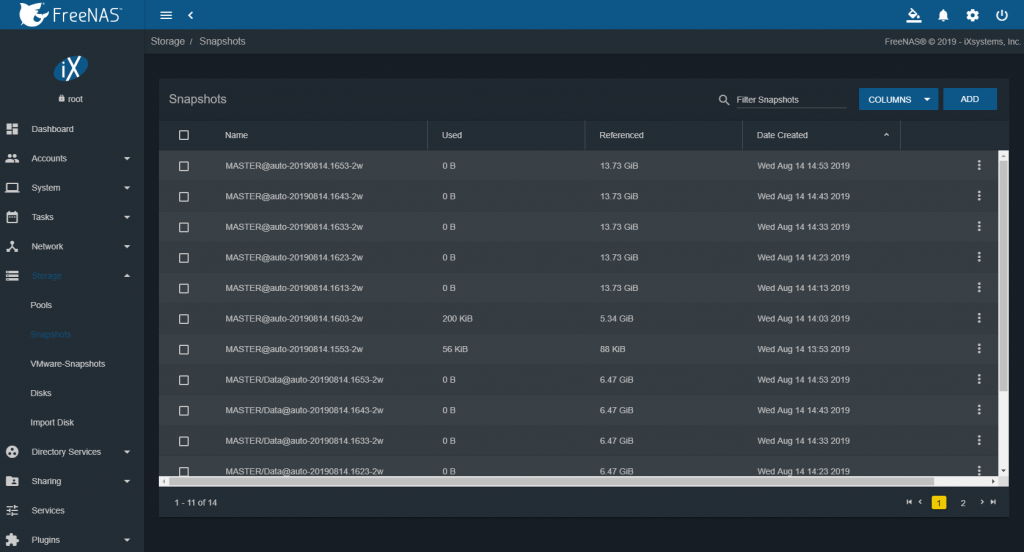
Each dataset / pool will have its own snapshot and we will be able to choose which one to restore.
To restore the snapshot we can follow 2 roads:
- Execute a clone: restore the snapshot in a portion of the file system and therefore storage that we are going to dedicate. In this case no other changes will be made but we will have a situation in which the snapshot will be restored parallel to the “current status”.
- Rollback: restore the snapshot by overwriting it to the current state of the dataset data to which it refers. Pay attention to the fact that all changes subsequent to the creation of the snapshot will be lost, as will all the snapshots created after the restored snapshot.
Clone
Click on the 3 balls of the snapshot we want to clone and select “Clone”.
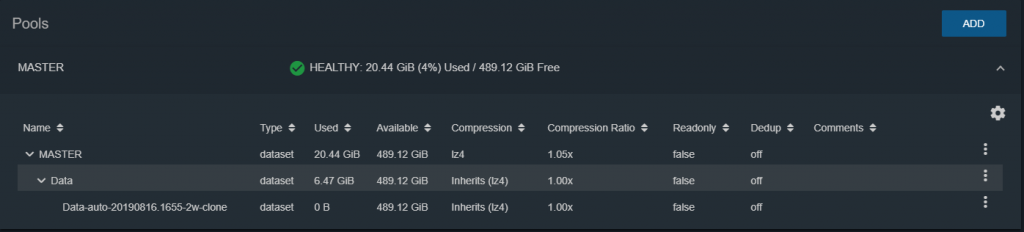
At this point we will be asked to select the path where we want the clone to be restored.

For example, we can create it within our shared dataset to be able to access it remotely and make a more convenient consultation.
Rollback
Click on the 3 balls of the snapshot that we want to clone and select “Rollback”
We will therefore be warned of the consequences and irreversibility of the process.
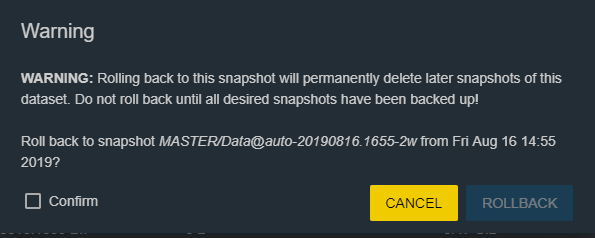
Once a snapshot has been rolled back it should be considered that the permissions in the restored snapshot are also restored.
CONCLUSION
Being able to rely on a certain number of snapshots can be very useful if our data is compromised by Ransomware like Cryptolocker or by other elements that could alter them.
As a method it might be more convenient to first make a snapshot clone, perhaps in an isolated storage or in the event that all our data is encrypted, so that we can consult the content and decide whether to roll back the desired datasets.