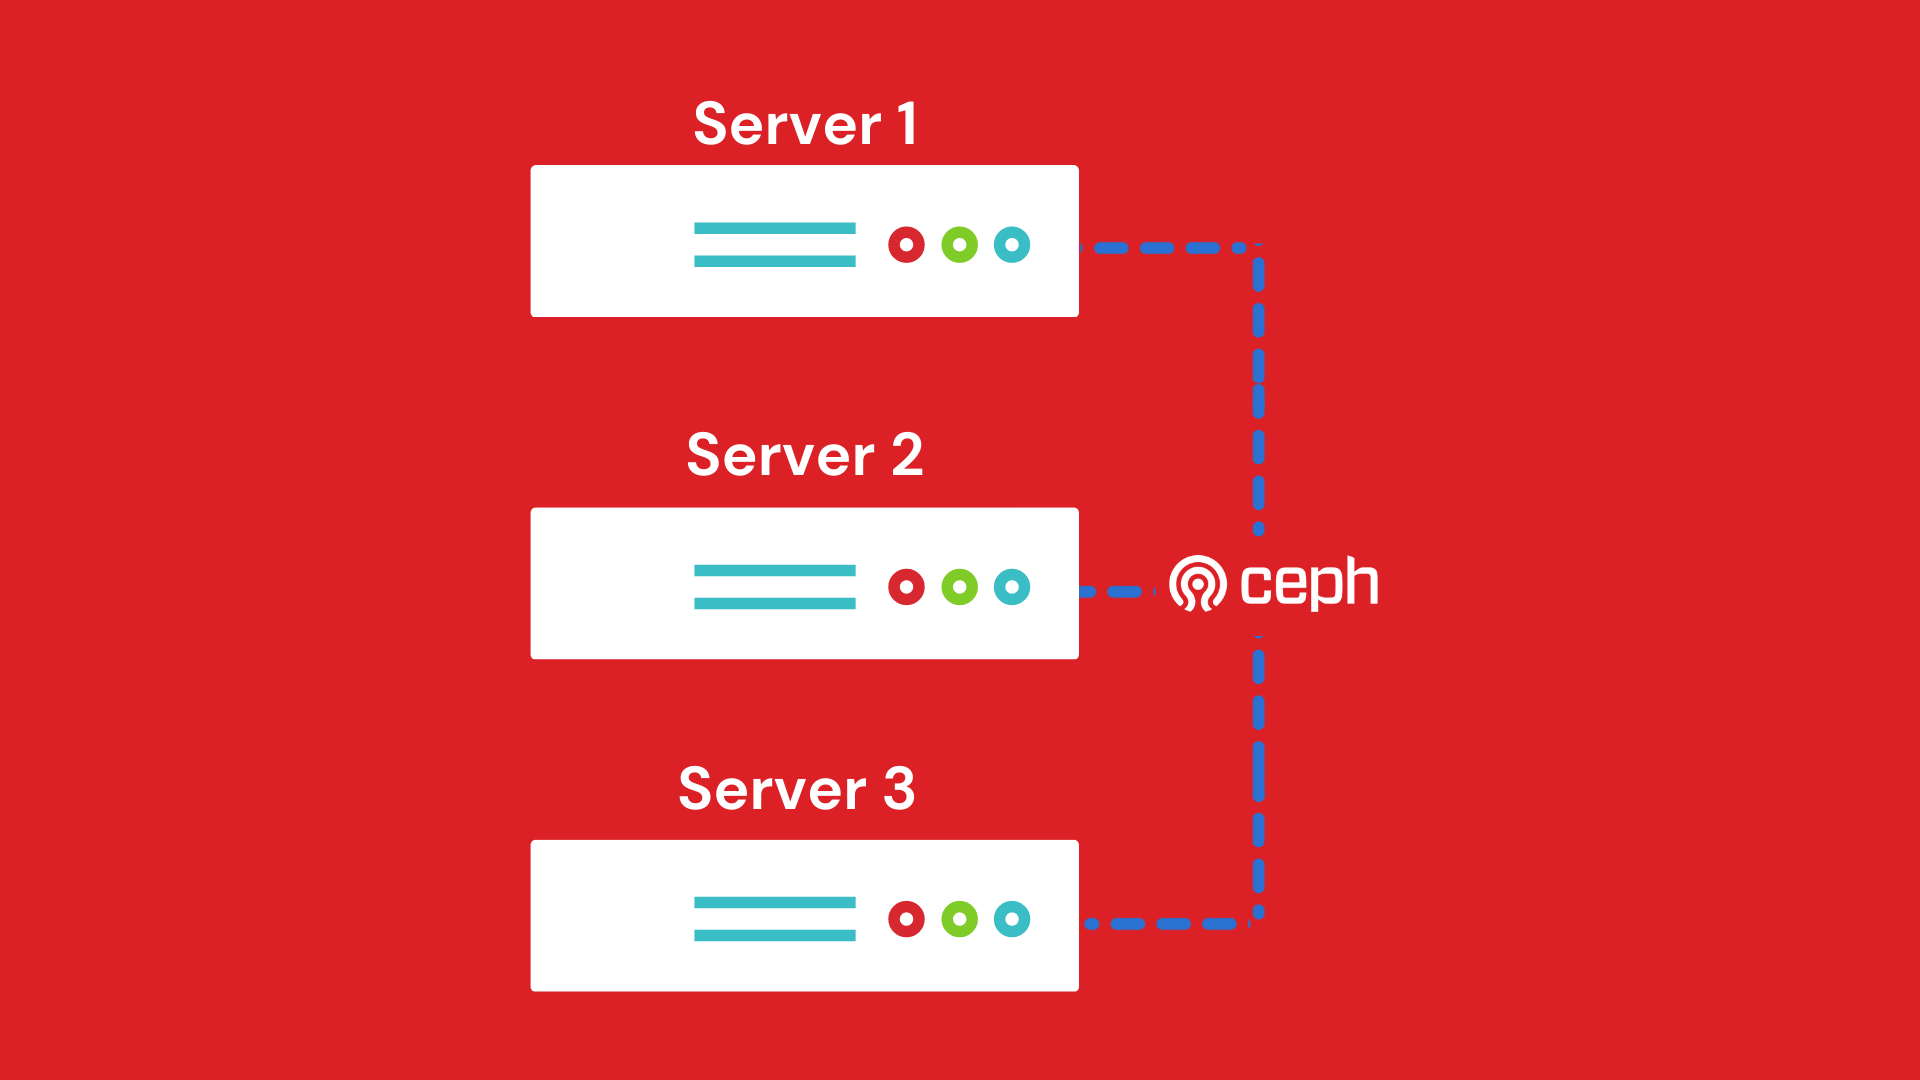
In this guide we want to deepen the creation of a 3-node cluster with Proxmox VE 6 illustrating the functioning of the HA (Hight Avaibility) of the VMs through the advanced configuration of Ceph.
In a few words we delve deeper into the concept of hyperconvergence of Proxmox VE.
To better understand the potential of the Cluster Proxmox VE solution and the possible configurations, we have created a laboratory aimed at viewing the possible configurations of Ceph.
The lab is made up of 3 Proxmox VE virtual machines already configured in clusters with Ceph.
Below, you will find the link to download the test environment, so you can run it on your Proxmox environment.
It will be possible to follow all the steps of the guide directly on the freely downloadable test environment, test the configurations and simulate service interruptions on the various nodes.
In the webinar that we find below, we comment on the test environment together, evaluating some interesting aspects of Ceph.
Used Software
Proxmox VE 6.1-8
Ceph versione 14-2.6 (stable)
Used Hardware
Our test environment is made up of 3 virtualized Proxmox nodes on an A3 Server (https://www.miniserver.store/appliance-a3-server-aluminum), equipped with:
- 2 2 TB SSD disks.
- 1 10TB SATA disk
- RAM: 128 GB
- CPU number: 16
- Operating System: Proxmox 6.1-8
It should be remembered that the test environment, freely downloadable from the link mentioned above, is NOT suitable for production environments, as it is the virtualization of a virtual environment, however it represents a versatile solution for testing purposes.
For the creation of a production environment, we recommend the use of 3 specific hardware such as the solution consisting of n. 3 A3 Server nodes (https://www.miniserver.store/appliance-a3-server-aluminum), which can be purchased already configured and ready for use.
Resources for each VM (node)
- Name: miniserver–pve1
- Disk space: 64 GB per S.O.
- RAM: 16 GB
- CPU number: 4
Introduction
The creation of the cluster is a topic that we have already covered in other guides, so if you are interested in the topic you can follow this guide: (https://blog.miniserver.it/en/proxmox-ve-6-3-node-cluster-with-ceph-first-considerations/ ) for the creation of the cluster from scratch.
From now on, we will assume that the 3-node Proxmox cluster is up and running and configured and functioning.
Ceph: first steps
Ceph is a distributed file system that has been designed to improve and increase scalability and reliability in cluster server environments.
Ceph allows data archiving (in our case the VM disks) to be performed directly on the hypervisor node, allowing replication to other nodes in the cluster, avoiding the use of a SAN.
The configuration of Ceph on each node of our cluster was done in the following way:
- a Pool Ceph on SSD disks
- a Pool Ceph on HDD disks
- configuration of a Public Network
- configuration of a Cluster Network
We will see these configurations in more detail later.
Obviously being a virtual cluster created with 3 virtual machines, the Pool Ceph with SSD disks is simulated (we will see below).
Ceph: il cluster
In fig. below is an image of the cluster called Miniserver, consisting of 3 nodes:
- miniserver-pve1
- miniserver-pve2
- miniserver-pve3
the Laboratory can be reached on one of these 3 addresses (being a Cluster it is indifferent which one).
- 192.168.131.150:8006
- 192.168.131.151:8006
- 192.168.131.152:8006
Network configuration
In order to ensure high reliability and therefore make the most of Ceph’s features, as already mentioned, we have decided to separate the Cluster Network and the Public Network.
Public network: this is the network dedicated to the management of Ceph monitoring, that is, all the data and controls that are needed by the nodes to understand what “state” they are in.
Cluster network: it is the network dedicated to the management of the OSD and to the heartbeat traffic, or rather it is the network that deals with synchronizing all the “data” of the VM virtual disks.
However, it is not mandatory to separate the traffic into two networks but strongly recommended in production where the cluster sizes start to be considerable.
There are two main reasons for using two separate networks:
- Performance: when OSD Ceph daemons manage replicas of data on the cluster, network traffic can introduce latency to the traffic of the Ceph clients, also creating a possible disservice. Furthermore, the monitoring traffic would also be slowed down preventing a true view of the state of the cluster.
We remind you that the recovery and rebalancing of the cluster, in case of failure, must be done in the shortest possible time, i.e. the PGs (Placement Groups) must be moved from the OSD quickly to recover a critical situation. - Security: a DoS (Denial of Service) attack could saturate network resources for the management of replicas and this would also lead to a slowdown (or even a complete stop) of the monitoring traffic. Remember that Ceph monitors allow Ceph Clients to read and write data on the cluster: we can therefore imagine what could happen in the face of congestion of the network used for Monitoring.
By separating the two networks instead, the monitoring traffic would not be minimally congested.
For safety and efficiency reasons, it is strongly recommended not to connect the Cluster Network and the Public network to the Internet: therefore keeping them “hidden” from the outside and separate from all other networks.
The images below show the configuration of the network cards for the 3 virtual machines, i.e. the 3 nodes of the cluster.
To view the configuration go to the desired node, then click on the network button.miniserver-pve
As can be seen in the 3 previous figures, LAN 192.168.131.0/24 is used as a network for Hosts and virtual machines, while the subnet 192.168.20.0/24 and 192.168.30.0/24 have been used for the Public Network and for the Cluster Network respectively.
Monitoring configuration
By selecting one of the nodes in the cluster, then Ceph, Monitor, you get to the menu where you can create multiple Monitors and Managers.
As already mentioned, monitoring is essential to understand the state of the cluster. In particular, the Ceph Monitors maintain a map of the cluster and based on the latter, the Ceph clients can write or read on a specific cluster storage space.
It is therefore easy to understand that having a single Ceph Monitor is not a safe solution to implement.
It is therefore necessary to configure a cluster of monitors to ensure the high reliability of monitoring too.
Just click on create and add the desired monitors.
The following image shows how the Ceph Monitor cluster is implemented:
We see that all three monitors are on the 192.168.20.0/24 network, or on the Public Network
OSD configuration
The OSD (Object Storage Daemon) element is a software layer that is concerned with storing data, managing replicas, recovery and data rebalancing. It also provides all information to the Ceph Monitors and Ceph Managers.
It is advisable to associate an OSD for each disk (ssd or hdd): in this way a single OSD will manage only the associated disk.
To create the OSD click on one of the Cluster nodes, then Ceph, then OSD.
We see in the next image how the OSDs were created.
On each host there are three disks dedicated to Ceph, of which:
- 200 GB HDD
- 200 GB HDD
- 200 GB SSD
For reasons of “space” in the test environment, there are actually 5 GB each.
The respective OSDs have therefore been allocated on each disk.
In the previous image we note that there are 3 OSDs allocated on 3 SSDs and 6 OSDs allocated on 6 HDDs respectively (see the “Class” column).
Creation of Ceph Pools
When creating a Pool from the Proxmox interface, by default you can only use the CRUSH rule called replicated_rule. By selecting this rule, the data replicas, within that pool, will be distributed both on the SSD disks and on the HDDs.
Our goal instead is to create 2 pools:
- a first pool consisting of SSDs only
- a second pool consisting of only HDDs
To do this, however, you must first create two different CRUSH rules than the default one.
Unfortunately it is an operation that cannot be managed from the Proxmox GUI, but it can be done by running these two commands on one of the three hosts in the cluster (no matter which):
- ceph osd crush rule create-replicated miniserver_hdd default host hdd
- ceph osd crush rule create-replicated miniserver_ssd default host ssd
To access the pool creation menu click on one of the nodes, then Ceph, then Pools.
In the following image we note that we can now select the CRASH rules we created previously.
By default, a pool is created with 128 PG (Placement Group). This is a number that can vary but depends on a few factors. We will see later how to set it according to the criteria of Ceph.
The objects of the RDB File System are positioned inside the PCs, which are collected inside a Pool. We will see after the creation of RDB storage.
As shown in the figure below, the Pool is in fact a logical grouping of the PCs. In fact, the PCs are physically distributed among the disks managed by the OSD.Recall that there is only one OSD for each disk dedicated to Ceph (see figure 12 above).
By selecting the Size = 3 field, you are specifying that each PG will have to be replicated 3 times in the cluster.
This is a value to keep in mind when we need to estimate the size of the disks (see below in detail) when sizing the cluster.
Remember not to select Add as Storage, as the Proxmox storage dedicated to Ceph will be inserted manually.
Once the two polls are created we will have the following situation:
Storage creation.
Now we are ready to create the two storage that will host our virtual machines.
Let’s go to Datacenter, Sotorage, select RBD, or the Block Storage that uses Ceph.
We see in the figure below that for the “ceph_storage_hdd” storage we select the “ceph_pool_hdd” created previously.
Same thing we will do for the storage of SSDs “ceph_storage_ssd”.
So we created the two storage
- ceph_storage_hdd
- ceph_storage_ssd
Now let’s calculate how much space I have available for each storage.
- 6 200 GB HDD disks = 1.2 TB
Considering that I have to guarantee 3 replicas (Size field, figure 13), I will have: ceph_storage_hdd = 1.2 TB / 3 ⋍ 400 GB
- 3 200 GB SSD disks = 600 GB
Considering that I have to guarantee 2 replicas (Size field, figure 13), I will have: ceph_storage_ssd = 600 GB / 2 ⋍ 300 GB
Let’s check what is calculated by selecting the storage from the Proxmox GUI.
We see in the two figures below, the actual dimensions of the storage.
ceph_storage_hdd
ceph_storage_ssd
We see that the actual sizes are 377.86 GB and 283.49 GB, very similar to those that we have calculated roughly previously.
The number of PGs for each Pool can be estimated based on the formula that Ceph makes available on the official website.
We see in the following image (fig. 19) how we set up the Ceph interface.
Note that 256 PGs are suggested for that pool.
So having 128 PGs for that pool we will have a number of PGs for each OSD equal to:
To understand the mechanism let’s make a case with 10 OSD (fig:21):
256 PGs are suggested for that pool.
We therefore have a number of PGs for each OSD equal to (fig. 22):
As the number of OSDs increases, the PG load to be managed for each OSD decreases favoring better scalability on the cluster.
In general therefore, it is better to have multiple OSDs to better distribute the load of the PCs.
In this regard, the maximum default number for Ceph of PG for OSD is set to 250 PG for OSD. However, it is a parameter that can be varied in Ceph’s configuration files, but we do not recommend it, unless you know exactly what you are doing.
Ceph system VS RAID system
Although different in technology and substance, it is however possible to compare these two technologies at the level of “useful space” for the same discs.
Let’s compare the space between a RAID system and a Ceph system: if you are thinking that Ceph “burns” a lot of space unnecessarily you have to think about what would have happened if you had used a classic solution with a raid controller.
Let’s take the case we are dealing with in this article as an example:
In the case of HDDs you would have had 3 servers with 2 disks each. in raid 1.
The total usable space would have been 200 GB X n. 3 servers = 600 GB. But be careful, you would not have had the replication system between the servers and a single centralized space!
Now let’s do the calculation with a real small Proxmox cluster system:
n.4 servers with 4 disks of 8 TB each.
RAID 10 configuration: 64 TB total storage space. If we think that every machine should have at least one replica, the space drops to 32 TB.
So in the end I will have about 32 TB of usable space net of redundancies and replicas.
Ceph configuration: total space of the 3 nodes: 128 TB.
Let’s say we use n. 3 replicas (size parameter 3 of the pool), we have to calculate the total space divided by 3.
At the end of the day I will have about 40 TB of space compared to the 32 TB of the RAID solution,
In the case of Ceph, I will also have 3 replicas in place of the 2 of the RAID solution.
Note that we also spared raid controllers with Ceph. It can be deduced that Ceph is slightly more expensive but it is more versatile in small solutions, while it is much more efficient from the 3 nodes to climb.
At this point, with the info you have, you can “play” by simulating the variation of the size parameter and compare the “consumption” of actual space with a classic configuration of disks in RAID. You will notice that the benefits of a Ceph solution are significant as the number of servers and disks grows.
In the video that you find at the beginning, we are going to simulate “system failures” and see how our cluster reacts to disturbances. You can download the test environment and simulate failures and malfunctions.
To stay up to date on this topic, we invite you to subscribe to our mailing list.
We remind you that at our company it is possible to organize in-depth courses on the Proxmox VE topic.
We invite you to fill in the form to request information.


