The purpose of this guide is to allow access to the Internet through the PFSense Captive Portal service. This system allows access to navigation by entering authorized users or by entering a temporary configurable vaucher (usage time, allowed speed, …)
Hardware and software environment used
Tested hardware: We performed the configuration on a single hardware system as, in fact, the configuration can be replicated on any device compatible with the pfSense system. However, we recommend not using a lower power system than the system used in our tests.
Tested Corporate Firewall:
The entire Compact Small UTM line
All the Small UTM line
The software used on the appliance is pfSense® version 2.4.4-RELEASE-p3
Configuration
First we need to identify one or more network cards on which the Captive Portal will be controlled, these can be normal LAN or VLan. Let’s take an example on VLAN.
Create a VLAN from the “Interface-> assignement->Vlan” menu then add
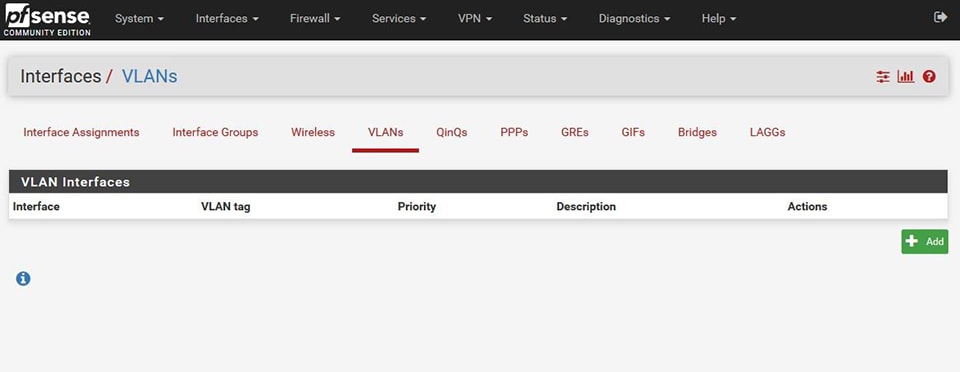
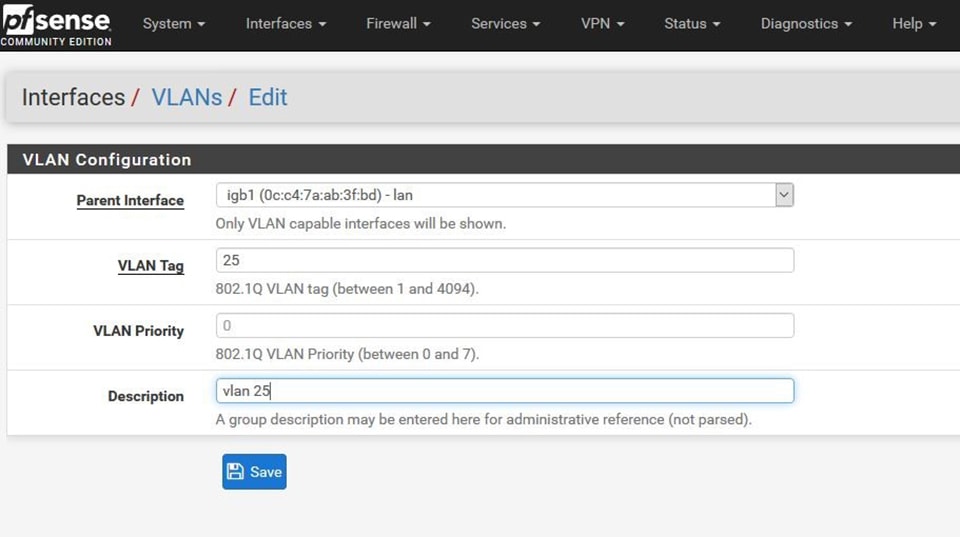
Configure it on the desired interface, in this example we create the VLan 25 on the LAN interface (igb1)
Then we add an interface with the VLAN just created, from the tab “Interface assignement” select in the drop down menu of “avaible network port” the newly created VLan then click on “Add” as shown in fig below.
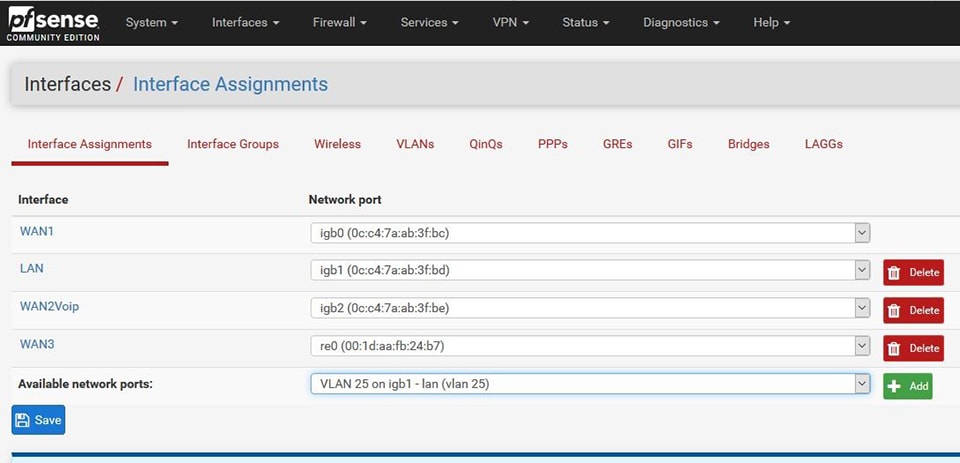
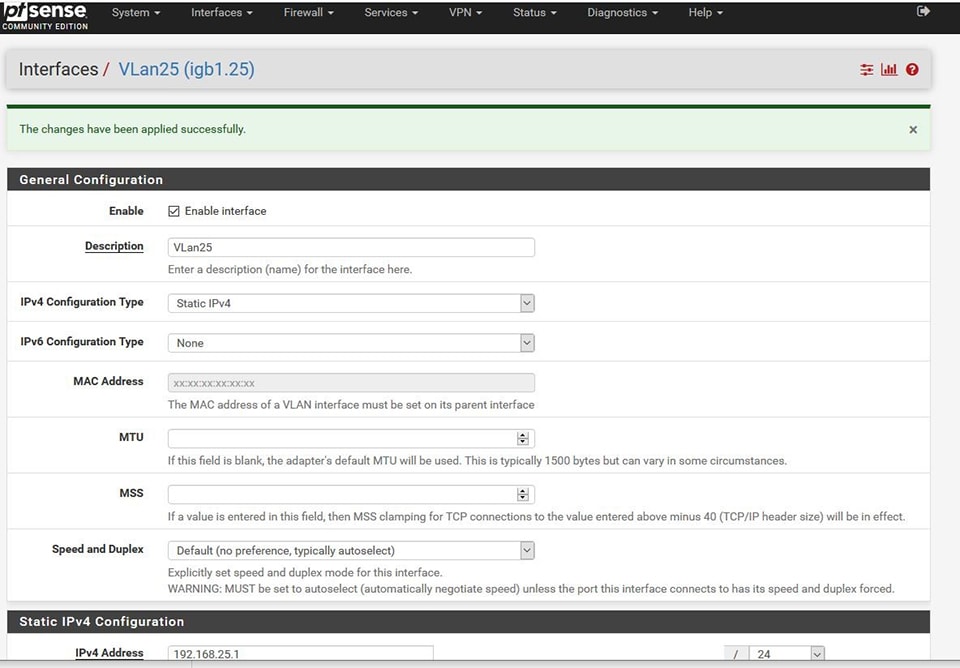
An interface with the initial name “OPT” will be created. Click on it to enable and configure it
Below an example
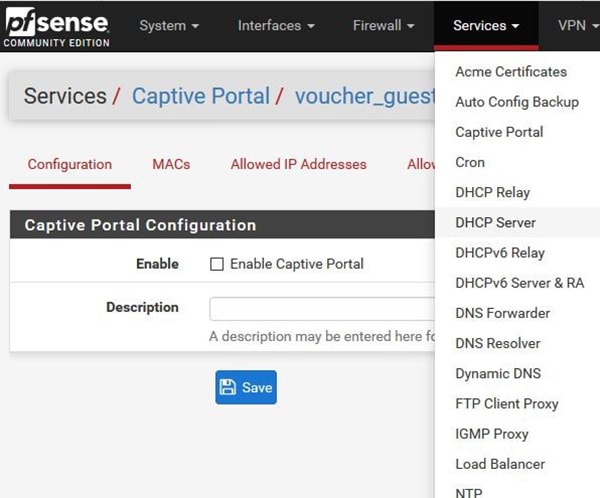
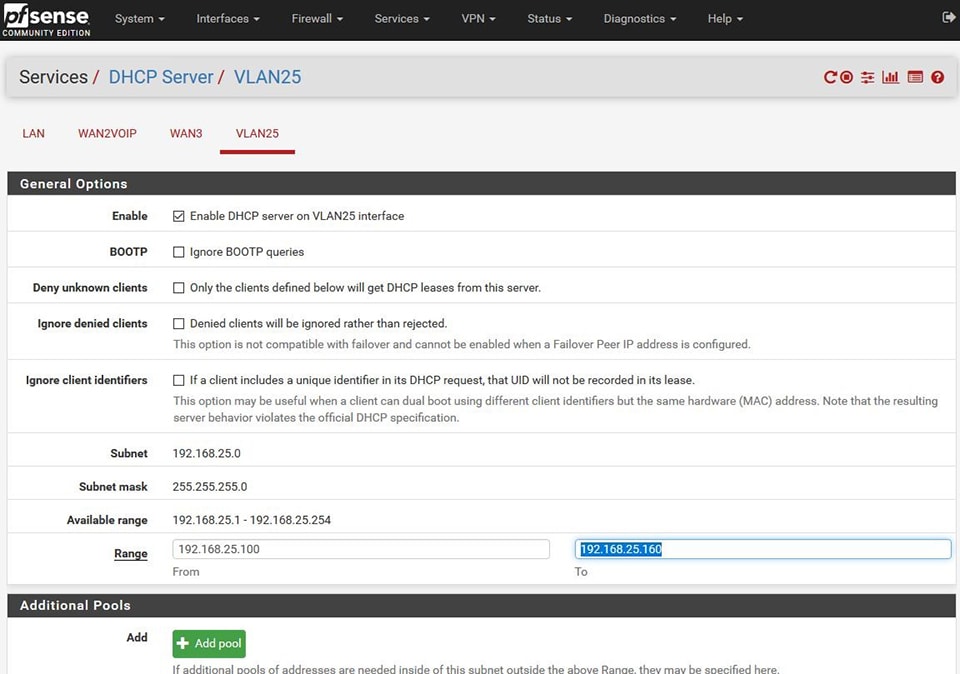
Configure DHCP from Services->DHCP Server
So, in our example, select the tab of the newly added tab and configure DHCP as you wish
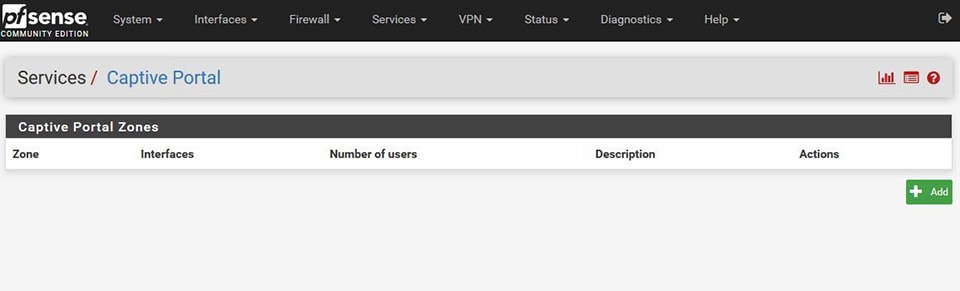
We create and enable the captive portal from the Service->Captive portal menu, click on “Add”
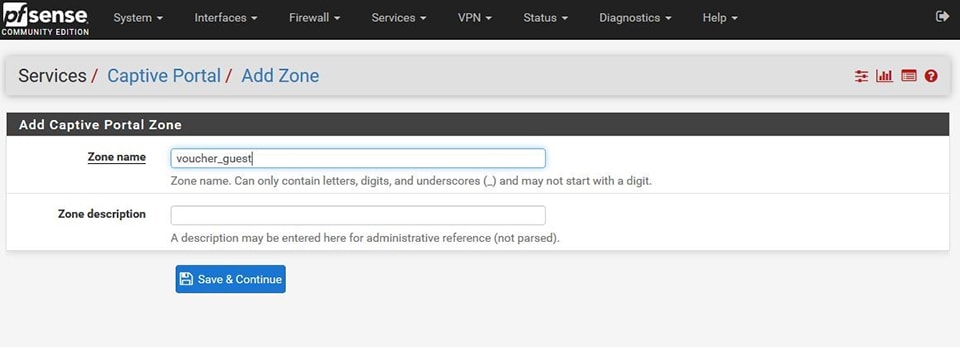
Then we enable the service by giving it a name, so we click on Save & continue
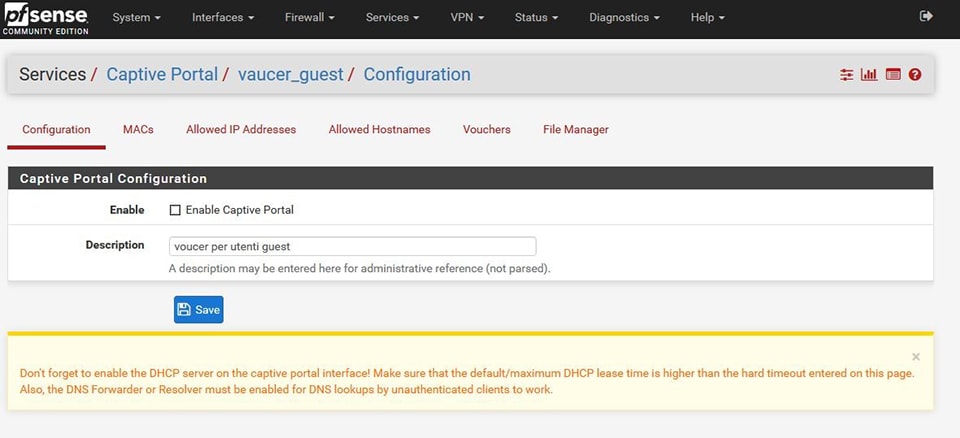
The page will appear as below, we enable the service
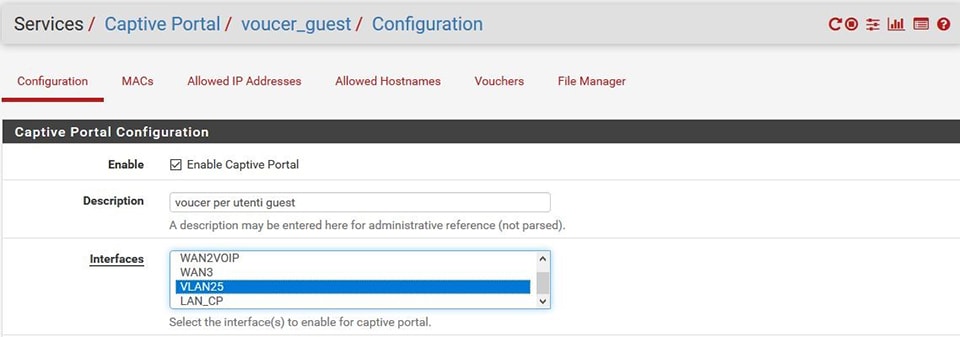
At this point we select the network or networks on which to enable the captive portal. In our example we will select VLAN25
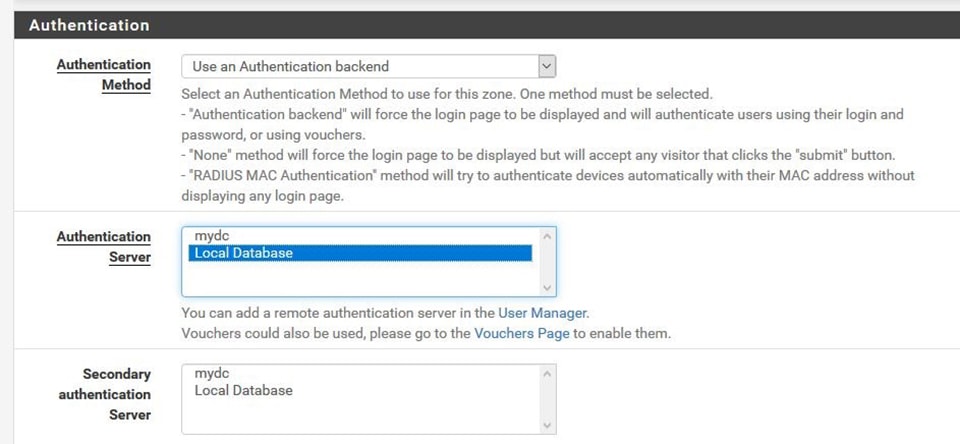
Further down the page we select the type of authentication, in our example we will use local users at the firewall.
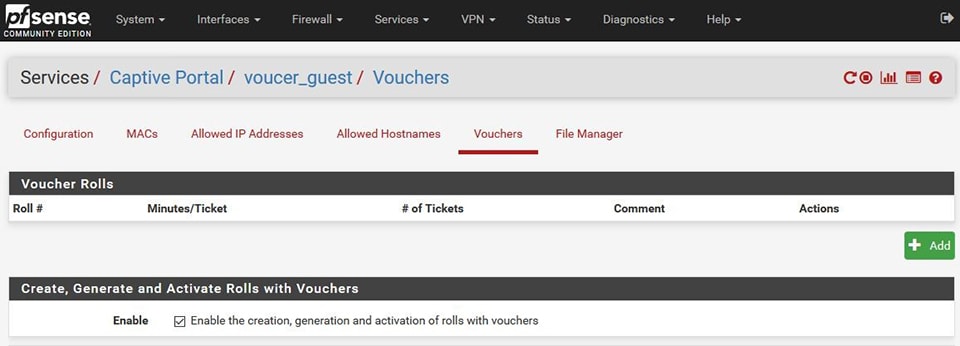
From the Vouchers tab we create all the vouchers we want with the “Add” button
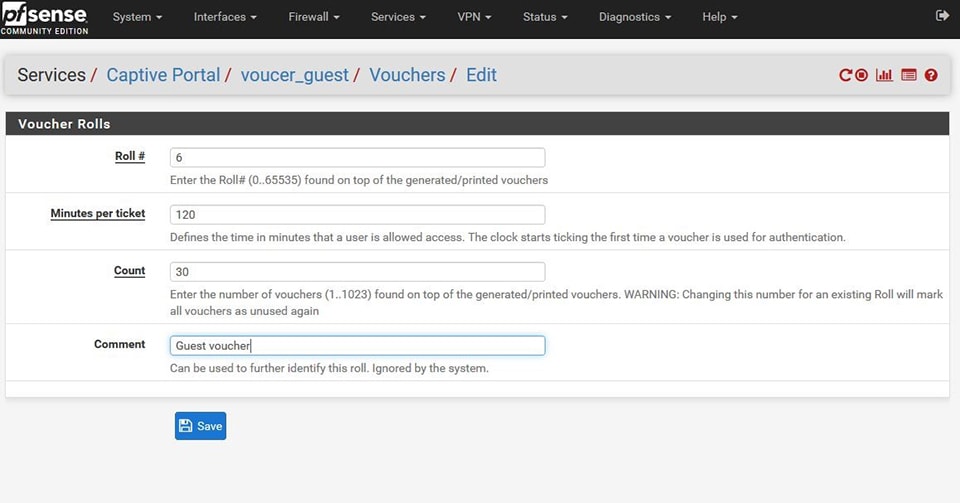
Then we select the complexity of the voucher with Roll#
The minutes of connections allowed with the use of these vouchers
And with count how many vouchers to generate
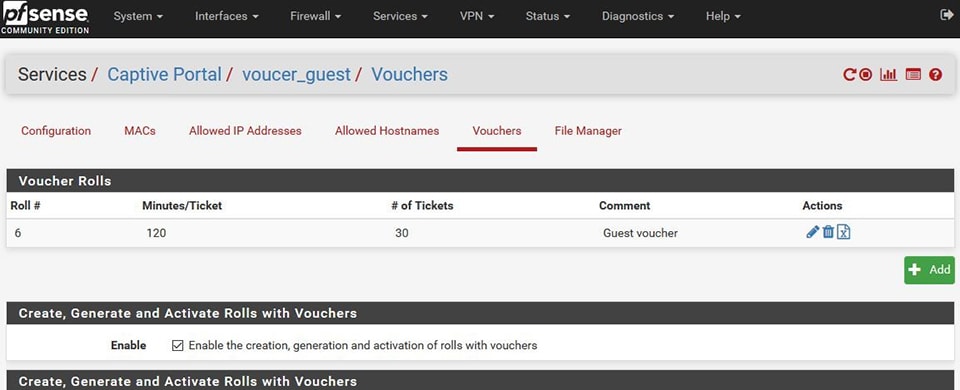
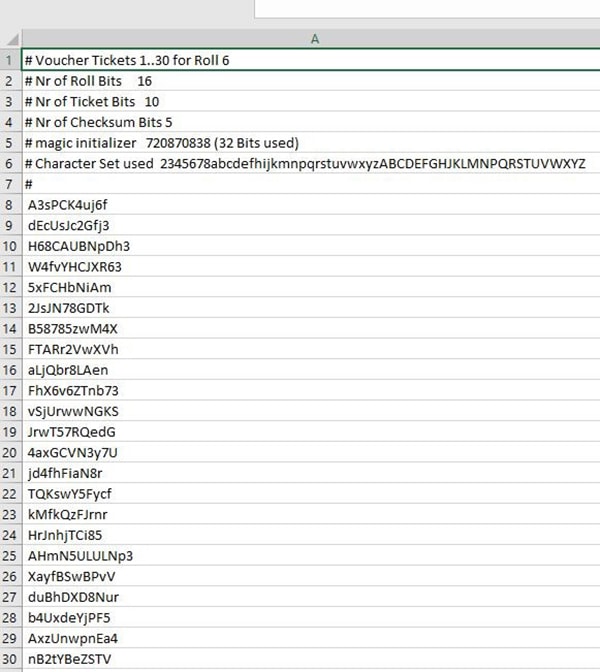
Once saved, we can export the vouchers by clicking on the “X” icon
An example of an exported file
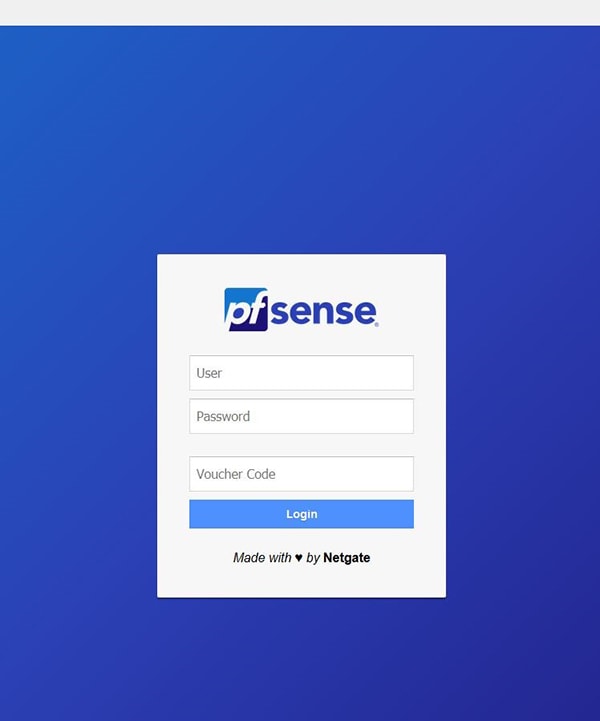
If from VLan25 we try to connect using the pfsense as gateway, this will send us back to the Captive Portal page; asking us to authenticate a local user or enter a voucher
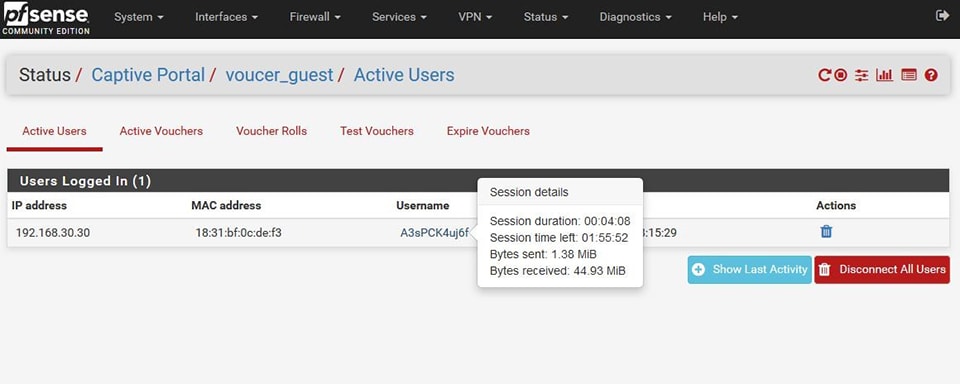
If we go to the active user tab we will see the active vouchers
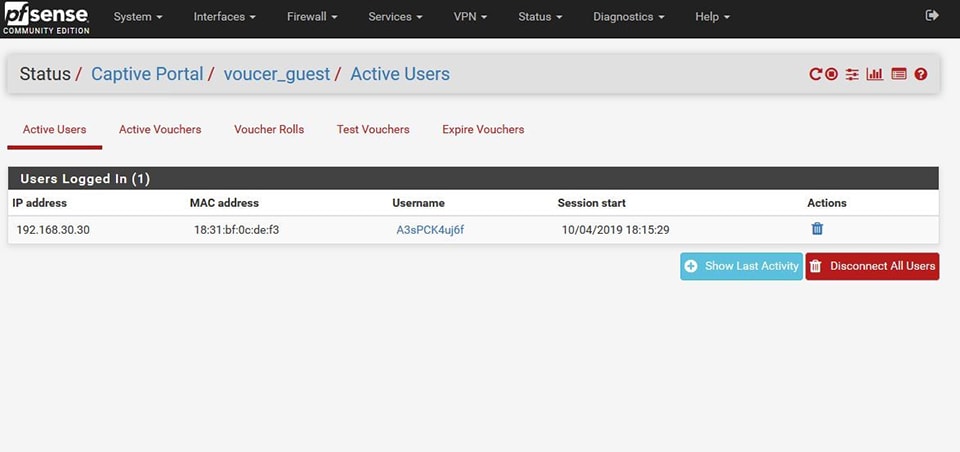
With possibility to see detailed information as in the figure below